Broccoli Salad

Products listed are independently selected. If you buy from one of our links, we may earn a commission.


Last weekend I came back from California on Sunday with just enough time to get to the grocery store and get to bed on time. Since I’m not near a major airport, I have split my flight into two and have a layover. For these flights, the only layover available was for 4 hours, which is the length of one of the flights. Needless to say, I was exhausted by the time I was home.

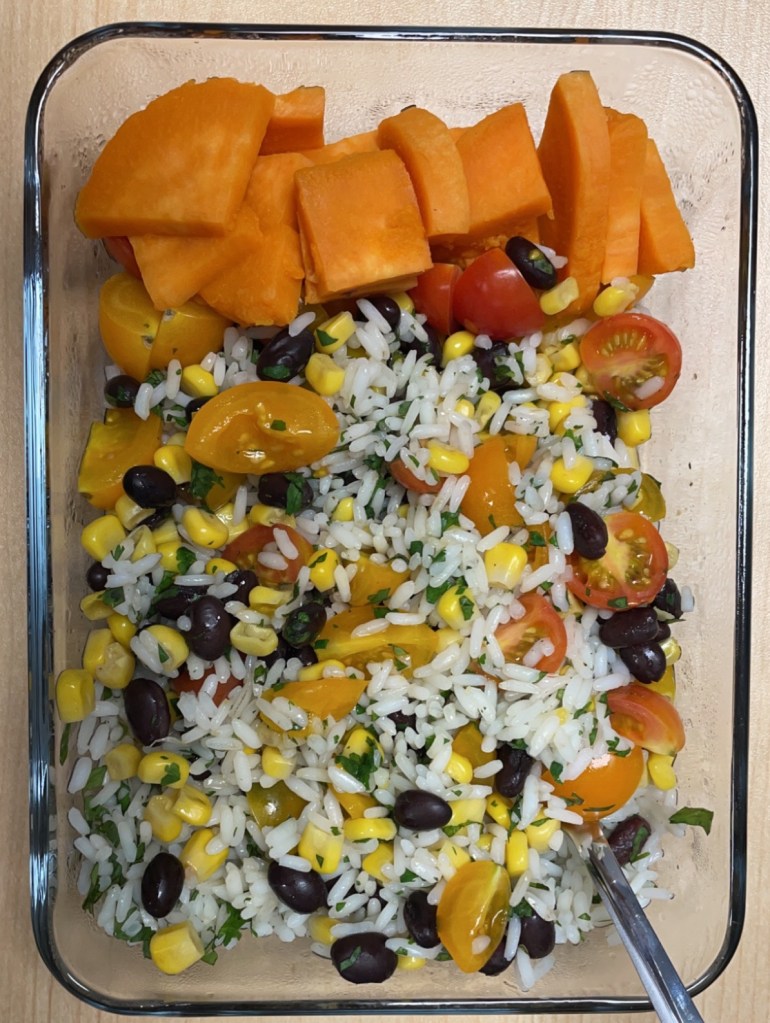
Due to this, my goal was to make something very easy for lunch that required minimal prep work. For this dish, I used full broccoli heads, so that had some prep work, but for the most part, it was really straight forward.


Broccoli Salad

Recipe List:

  • 2 heads broccoli
  • 1 small red onion, diced
  • 1 cup shredded carrots
  • 1 cup shredded cheese
  • Handful of dried cranberries
  • Handful of roasted walnuts
  • Your favorite creamy/thick dressing
    • I used a Avocado Green Goddess dressing

Recipe Directions:

  1. Cut broccoli heads and stem into bite-sized chunks
  2. Mix ingredients in a large bowl
  3. Add in dressing and mix until well coated
  4. Serve and enjoy!

Other Notes:

  • I added rice as a base to make this a more filling dish (and it ended up being really filling)
  • I would recommend steaming the broccoli. It was delicious as was, but I think softer broccoli would have made it easier to eat
  • I would maybe add some shredded chicken next time to make this fuller

Follow my page on Instagram to get the latest on new posts and blog activity:

https://www.instagram.com/gabmaria__/

Yellow Rice with Lemon Garlic Chicken

Products listed are independently selected. If you buy from one of our links, we may earn a commission.


I’ve officially relocated for my new job role! Although I didn’t do much of the packing, it was a bit exhausting seeing how much stuff I have and imagining where it would all go in the new apartment. Thankfully, most items have found their place. There are a few things to put away still, but it’s coming together nicely. The kitchen was my biggest challenge! I was worried there wouldn’t be enough cabinet space for all the kitchen equipment, but thankfully the pantry is quite large, so I was able to keep some things in there.

I’m now living in a state and a city that I’ve never been in before. I was a little nervous at first and didn’t know what to expect, but the area has really grown on me, and I like it a lot. I’m excited to be somewhere new!

Although it was beautiful for my move and a few days after, the rest of the week was cloudy, rainy and cold. So, for April, I thought I’d bring a little color back with my Color Series! For April, we’re doing the color Yellow using a bit of turmeric!

Some suggested health benefits of turmeric include reducing inflammation and neutralizing free radicals in the body.

PULLED FROM CLEVELAND CLINIC

There are 3 aspects to most of my meals: the base, the veggies, and the protein. For the veggies this week, I diced up yellow bell pepper and yellow squash and sauteed them. Check out the recipe below to bring a little yellow to your meals!

Product Recommendations:

  • I use large reusable storage bags which are great for marinades and cutting down on waste – Stasher 1/2 Gallon Bags

Yellow Rice with Lemon Garlic Chicken

Rice Recipe List:

  • 2 cups long grain white rice
  • 2 tbsp butter
  • 1 small/medium onion, diced
  • 1 tbsp minced garlic (4 cloves)
  • 1 tsp turmeric powder
  • 3 cups vegetable stock
  • salt and pepper to taste
  • parsley to garnish

Chicken Recipe List:

  • 1 pack boneless, skinless, chicken breast
  • 1 lemon
  • 1 tbsp minced garlic (4 cloves)
  • 1-2 tbsp olive oil

Rice Recipe Directions:

  1. Rinse rice until water runs clear
  2. Melt butter in pot over medium heat. Sauté onion and garlic until fragrant (1-2 minutes).
  3. Add turmeric powder and combine. Stir in rice until lightly toasted and well coated.
  4. Mix in vegetable stock, salt, and pepper, and bring to a boil. Cover and reduce heat to low. Simmer for 15 minutes.
  5. Remove from heat and allow to cool for 5 minutes before fluffing. Add parsley to garnish.

Lemon Garlic Chicken Directions:

  1. Cut chicken into 1-inch cubes
    • If breasts are thick, slice in half to thin
  2. Slice lemon into 4 wedges
  3. In 1/2-gallon bag, add chicken, lemon juice, lemon wedges, olive oil, garlic.
  4. Allow to marinate for 1-hour minimum. Then cook.

Follow my page on Instagram to get the latest on new posts and blog activity:

https://www.instagram.com/gabmaria__/

Sweet Potato Burrito Bowls

Disclaimer: Any links are provided as a convenience and for informational purposes only; they do not constitute an endorsement or an approval of any of the products, services or opinions of the corporation or organization or individual.


The days have truest been flying by and I’m amazed that today is already December 24th! I believe I posted two weeks ago. After that, I went on a day trip to Disneyland which was so much fun! It was colder than we were anticipating but we warmed up by midday. After Disney, I flew from California to New Jersey to spend a few days with my parents, then drove back to my current state, picked up my boyfriend from the airport, and then we drove back to New Jersey a few days later. And now, I’m in Spain!

With all the travel, plus work, plus cooking, it’s actually been difficult to find a few moments to sit down and write a blog post to send an update and a new recipe. Yesterday we busy because we landed in Spain in the morning and then spent the remainder of the day with my boyfriends family. We were both exhausted and so this morning we ended up sleeping in until 1pm (which was about an hour ago).


This week I thought I’d share an oldie, but a goodie. This is recipe from when I was still living in Kansas City, MO which was a little more than a year ago. I wanted to make something filling and work friendly, but also healthy. So I thought a twist on a burrito bowl would be a great option, substituting sweet potato for the ground beef.

These are a great base if you want to then branch off to tacos instead. Simply cut the sweet potato into smaller cubes, and some lettuce, cheese, and other favorite toppings, and you’re all set.

I sued minimal seasoning this time around to try and minimize smell. The site I’m currently at has about 4 microwaves upstairs, more downstairs, and more in the other building. At the Kansas City site, there were only 2 microwaves in the kitchen upstairs and they were in high demand!

Based on that, feel free to adjust based on what works best for you to make this delicious 🙂


Recipe List:

  • Sweet potato
  • 1 pack grapes/cherry tomatoes
  • 1 can sweet corn (or fire roasted corn)
  • 1 can black beans
  • 2 cups white rice
  • 1 pack of fresh cilantro

Recipe Directions:

  • Cook rice based on your preferred method
    • I use an Instant Pot: 2 cups rice, 2 cups water. Pressure cook on high for 5 minutes, and let pressure release for 12 minutes.
    • I then let the rice sit in “Keep warm” until I’m ready to use it.
  • Preheat oven to 400° and prepare sweet potatoes.
    • Remove skin from sweet potato*
    • Slice sweet potatoes into thin halves.
    • Cook sweet potato in a single sheet for about 22-30 minutes, until tender.
  • When the rice is completed, chop up cilantro and mix in.*

*The steps are optional depending on preference


Follow my page on Instagram to get the latest on new posts and blog activity:

https://www.instagram.com/gabmaria__/