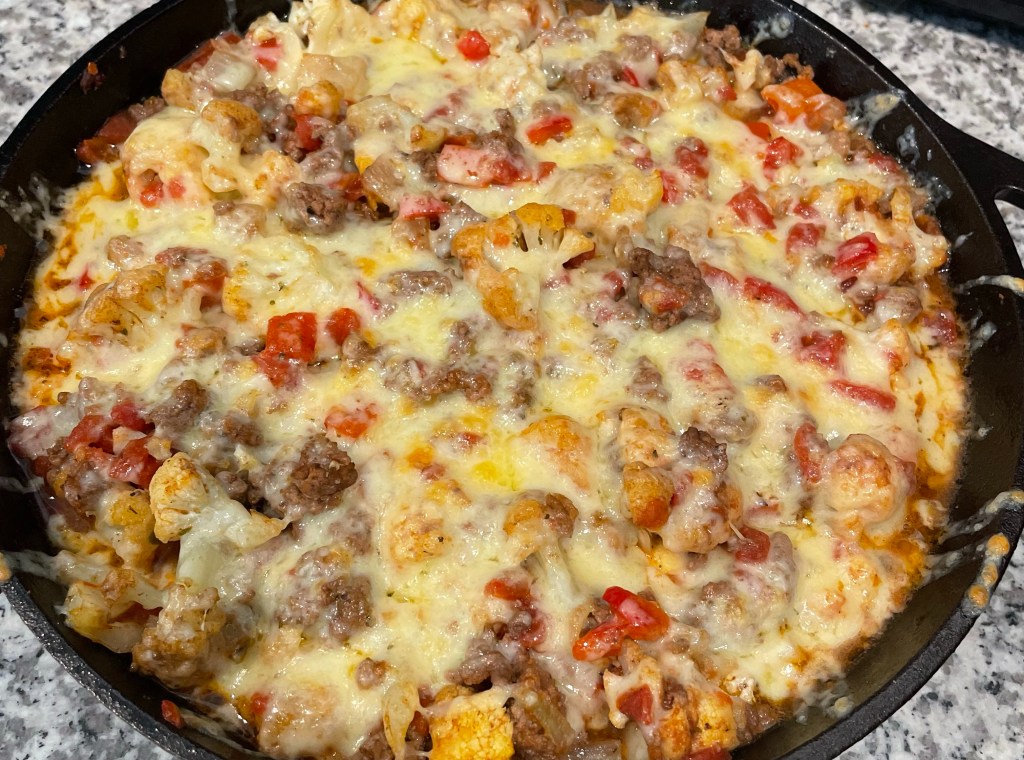
I was looking for something quick, easy, and with minimal cleaning required. This Ground Beef Casserole was a great option! I found this recipe from EatingWell. It’s intended to have some kick to it, but I opted to cut most of those out. You’ll see my substitutions below!
Rating
10/10
Recipe
Ground Beef Casserole
This was very easy to make. I only wish there was more! Items with an * were omitted in my version and any replacements will be in parenthesis.
Ingredient List:
1 lb ground beef
1 tbsp olive oil
1/2 cup onion, chopped
1 green bell pepper, chopped
3 cups cauliflower florets
3 cloves garlic, minced
2 tbsp chili powder* (2 tbsp paprika)
2 tsp ground cumin*
1 tsp dried oregano
1/2 tsp salt
1/4 tsp ground chipotle*
15 oz no-salt-added petite-diced tomatoes
2 cups extra sharp Cheddar cheese, shredded
1/3 cup sliced pickled jalapeños*
Recipe Directions:
Preheat broiler to high
Heat oil in a broiler-safe skillet over medium-high heat
Add onion and bell pepper cooking until softened, about 5 minutes
Add beef and cauliflower, cooking until beef is no loner pink, breaking into smaller peices. About 5-7 minutes.
Stir in garlic, chili powder* (paprika), cumin*, oregano, salt, and chipotle*, and stir until fragrant, about 1 minute
Add tomatoes and bring to a simmer. Cook until cauliflower is tender. Remove from heat
Sprinkle cheese over mixture and top with jalapeños*. Broil until cheese is melted, 2-3 minutes.
Serve and enjoy!
Follow my page on Instagram to get the latest on new posts and blog activity:
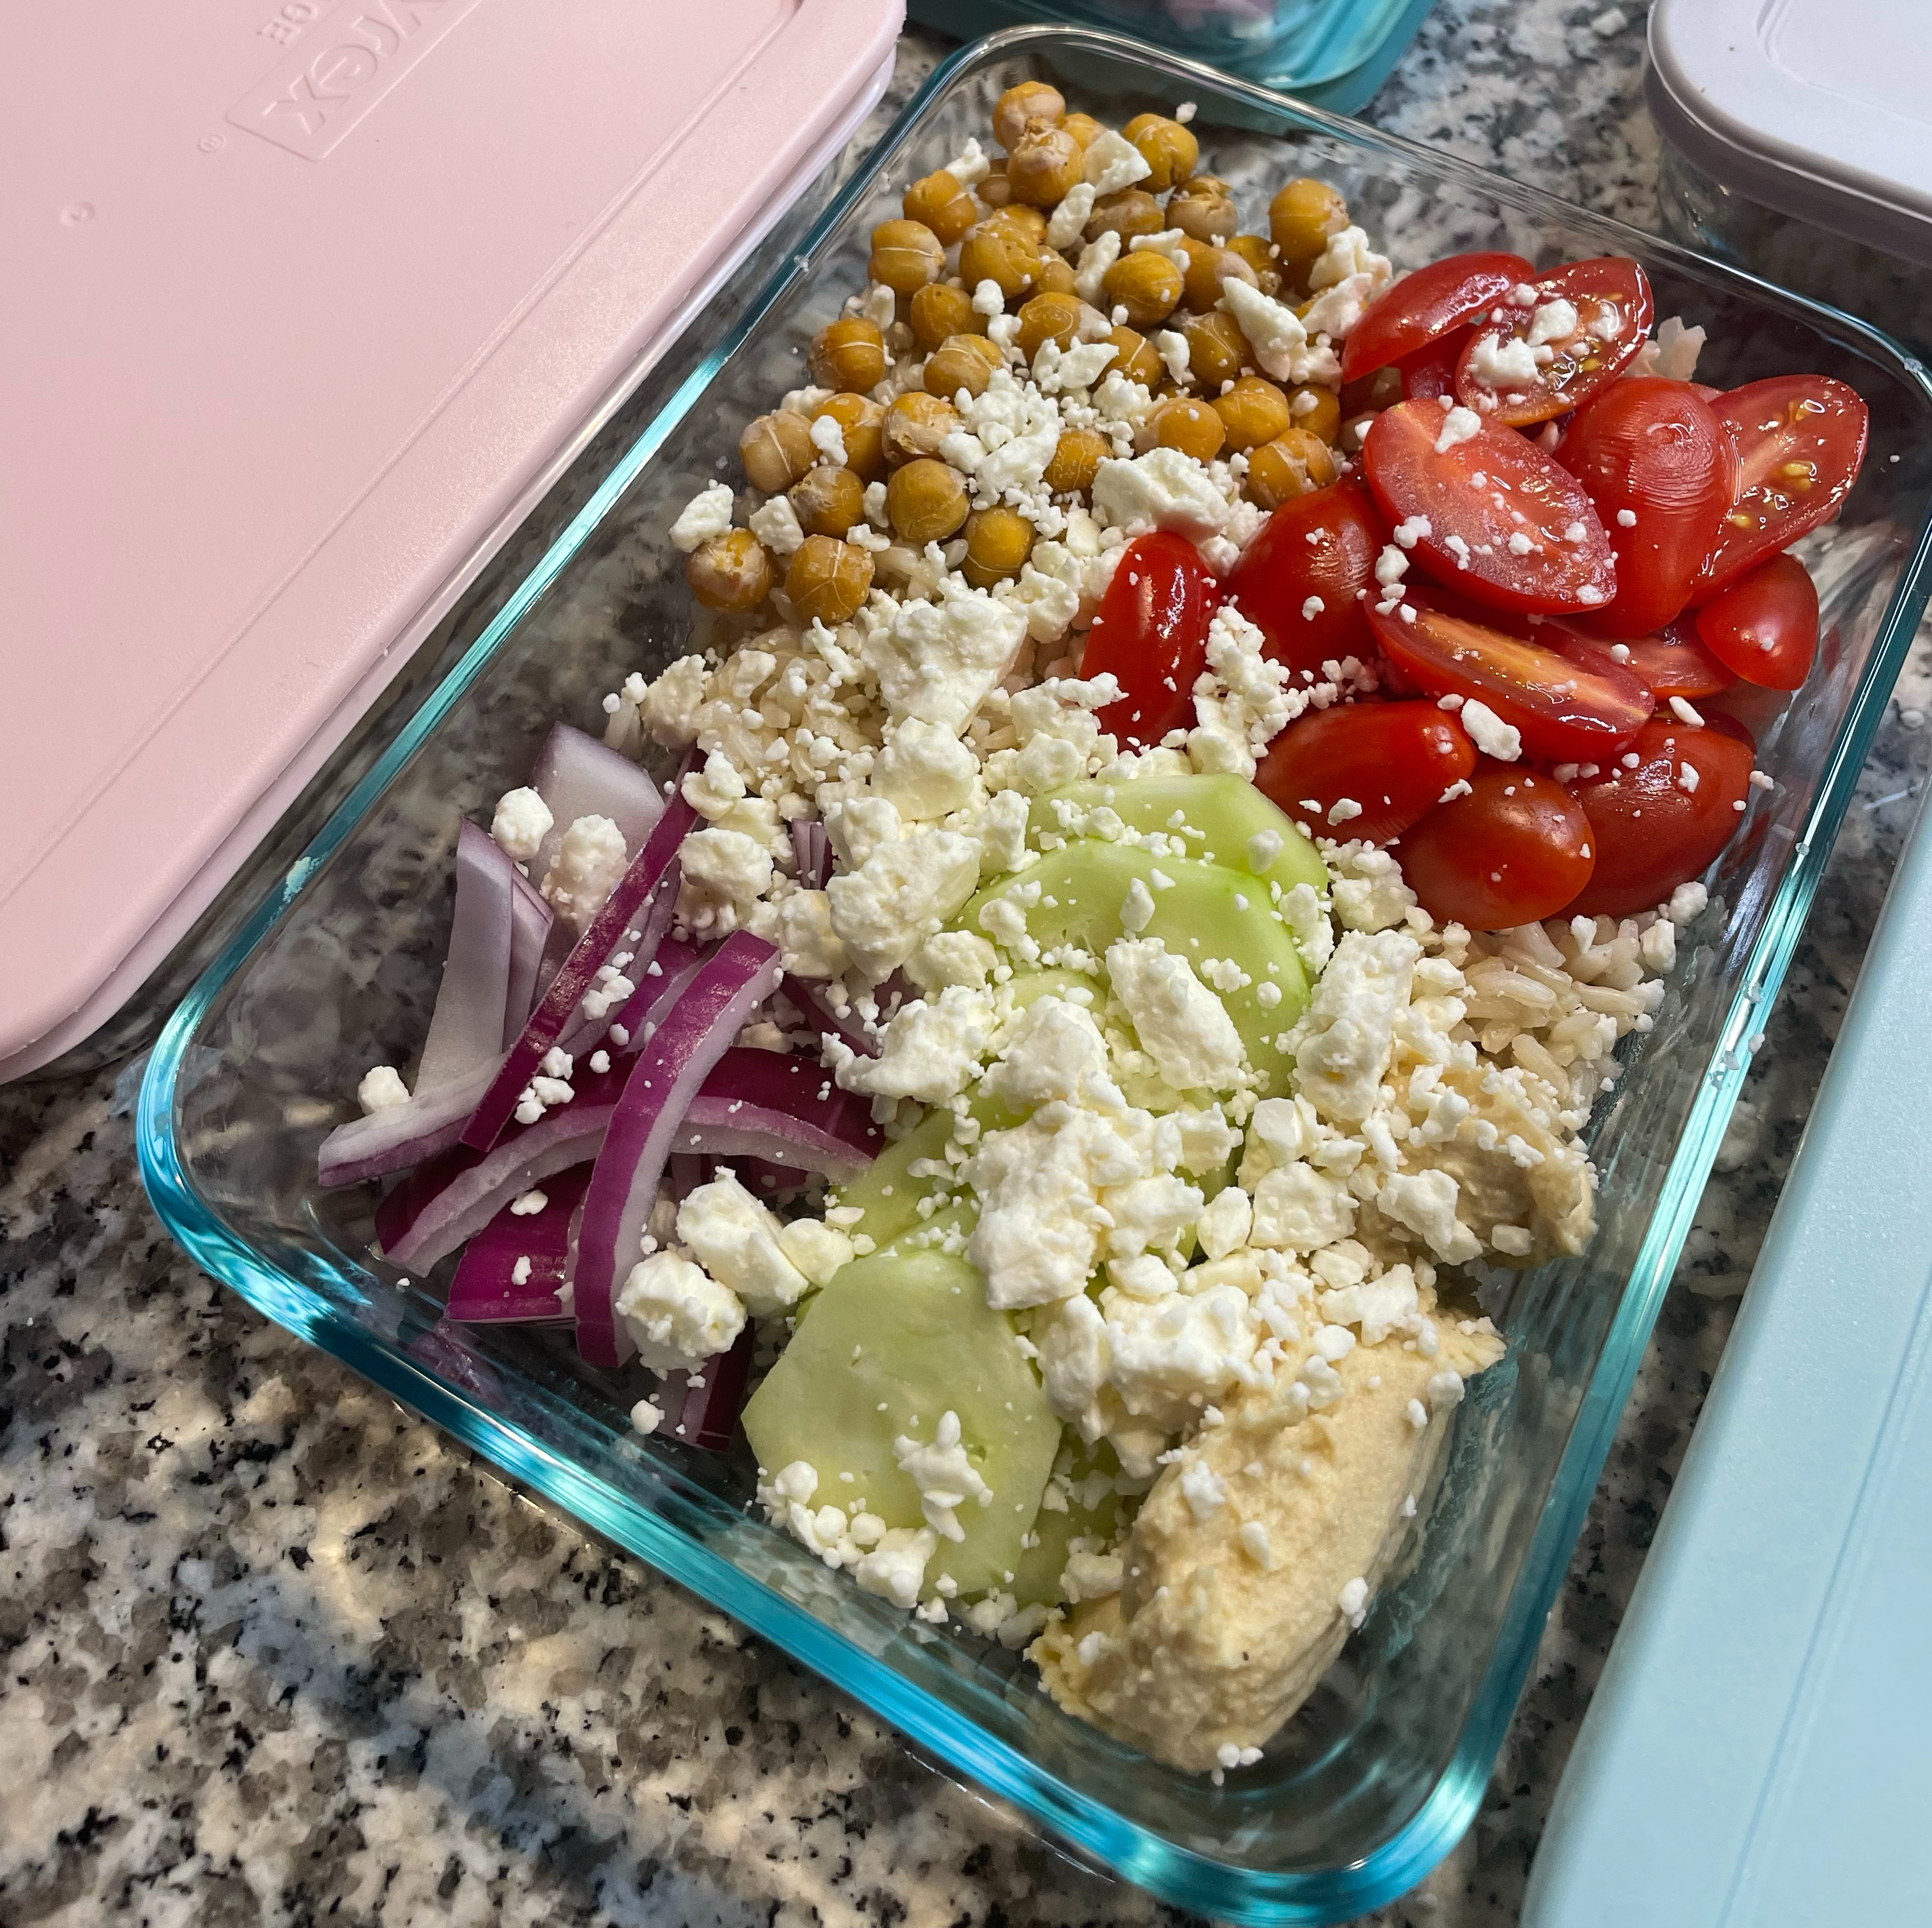
These humus bowls were a fun change up for lunch. They were also delicious cold which meant I didn’t need to wait in line for the microwaves and could eat right away! With the addition of hummus, these bowls have a lot of flavor and are great if you need to pull something together quickly for lunch!
Mediterranean Hummus Bowls
Ingredient List:
1.5 cups brown rice or quinoa
1 cup grape tomatoes, sliced
1/4 cup red onion, sliced
1 cucumber, sliced
Feta cheese
8 oz can chickpeas, drained and rinsed
1 tbsp garlic powder
Hummus
Recipe Directions:
Coat chickpeas in garlic powder and roast for 20-25 minutes at 425°
Cook rice/quinoa according to package instructions
Prep bowls:
Top rice with tomatoes, red onion, cucumber, feta cheese, chickpeas, and hummus
Serve!
Follow my page on Instagram to get the latest on new posts and blog activity:
I wanted something sweet for breakfast this week and wanted something new. I always have eggs with sweet potatoes and fruit, which is great, especially after the gym, but I felt it was time to switch it up.
Since I learned how to make bread at home, I’ve been interested in seeing what else I can bake or create. Baking is not my forte, which sounds ridiculous since I enjoy cooking. But I really struggle with baking. I think because, eve though there’s a recipe, sometimes it’s based on look and taste rather than follow exact instructions.
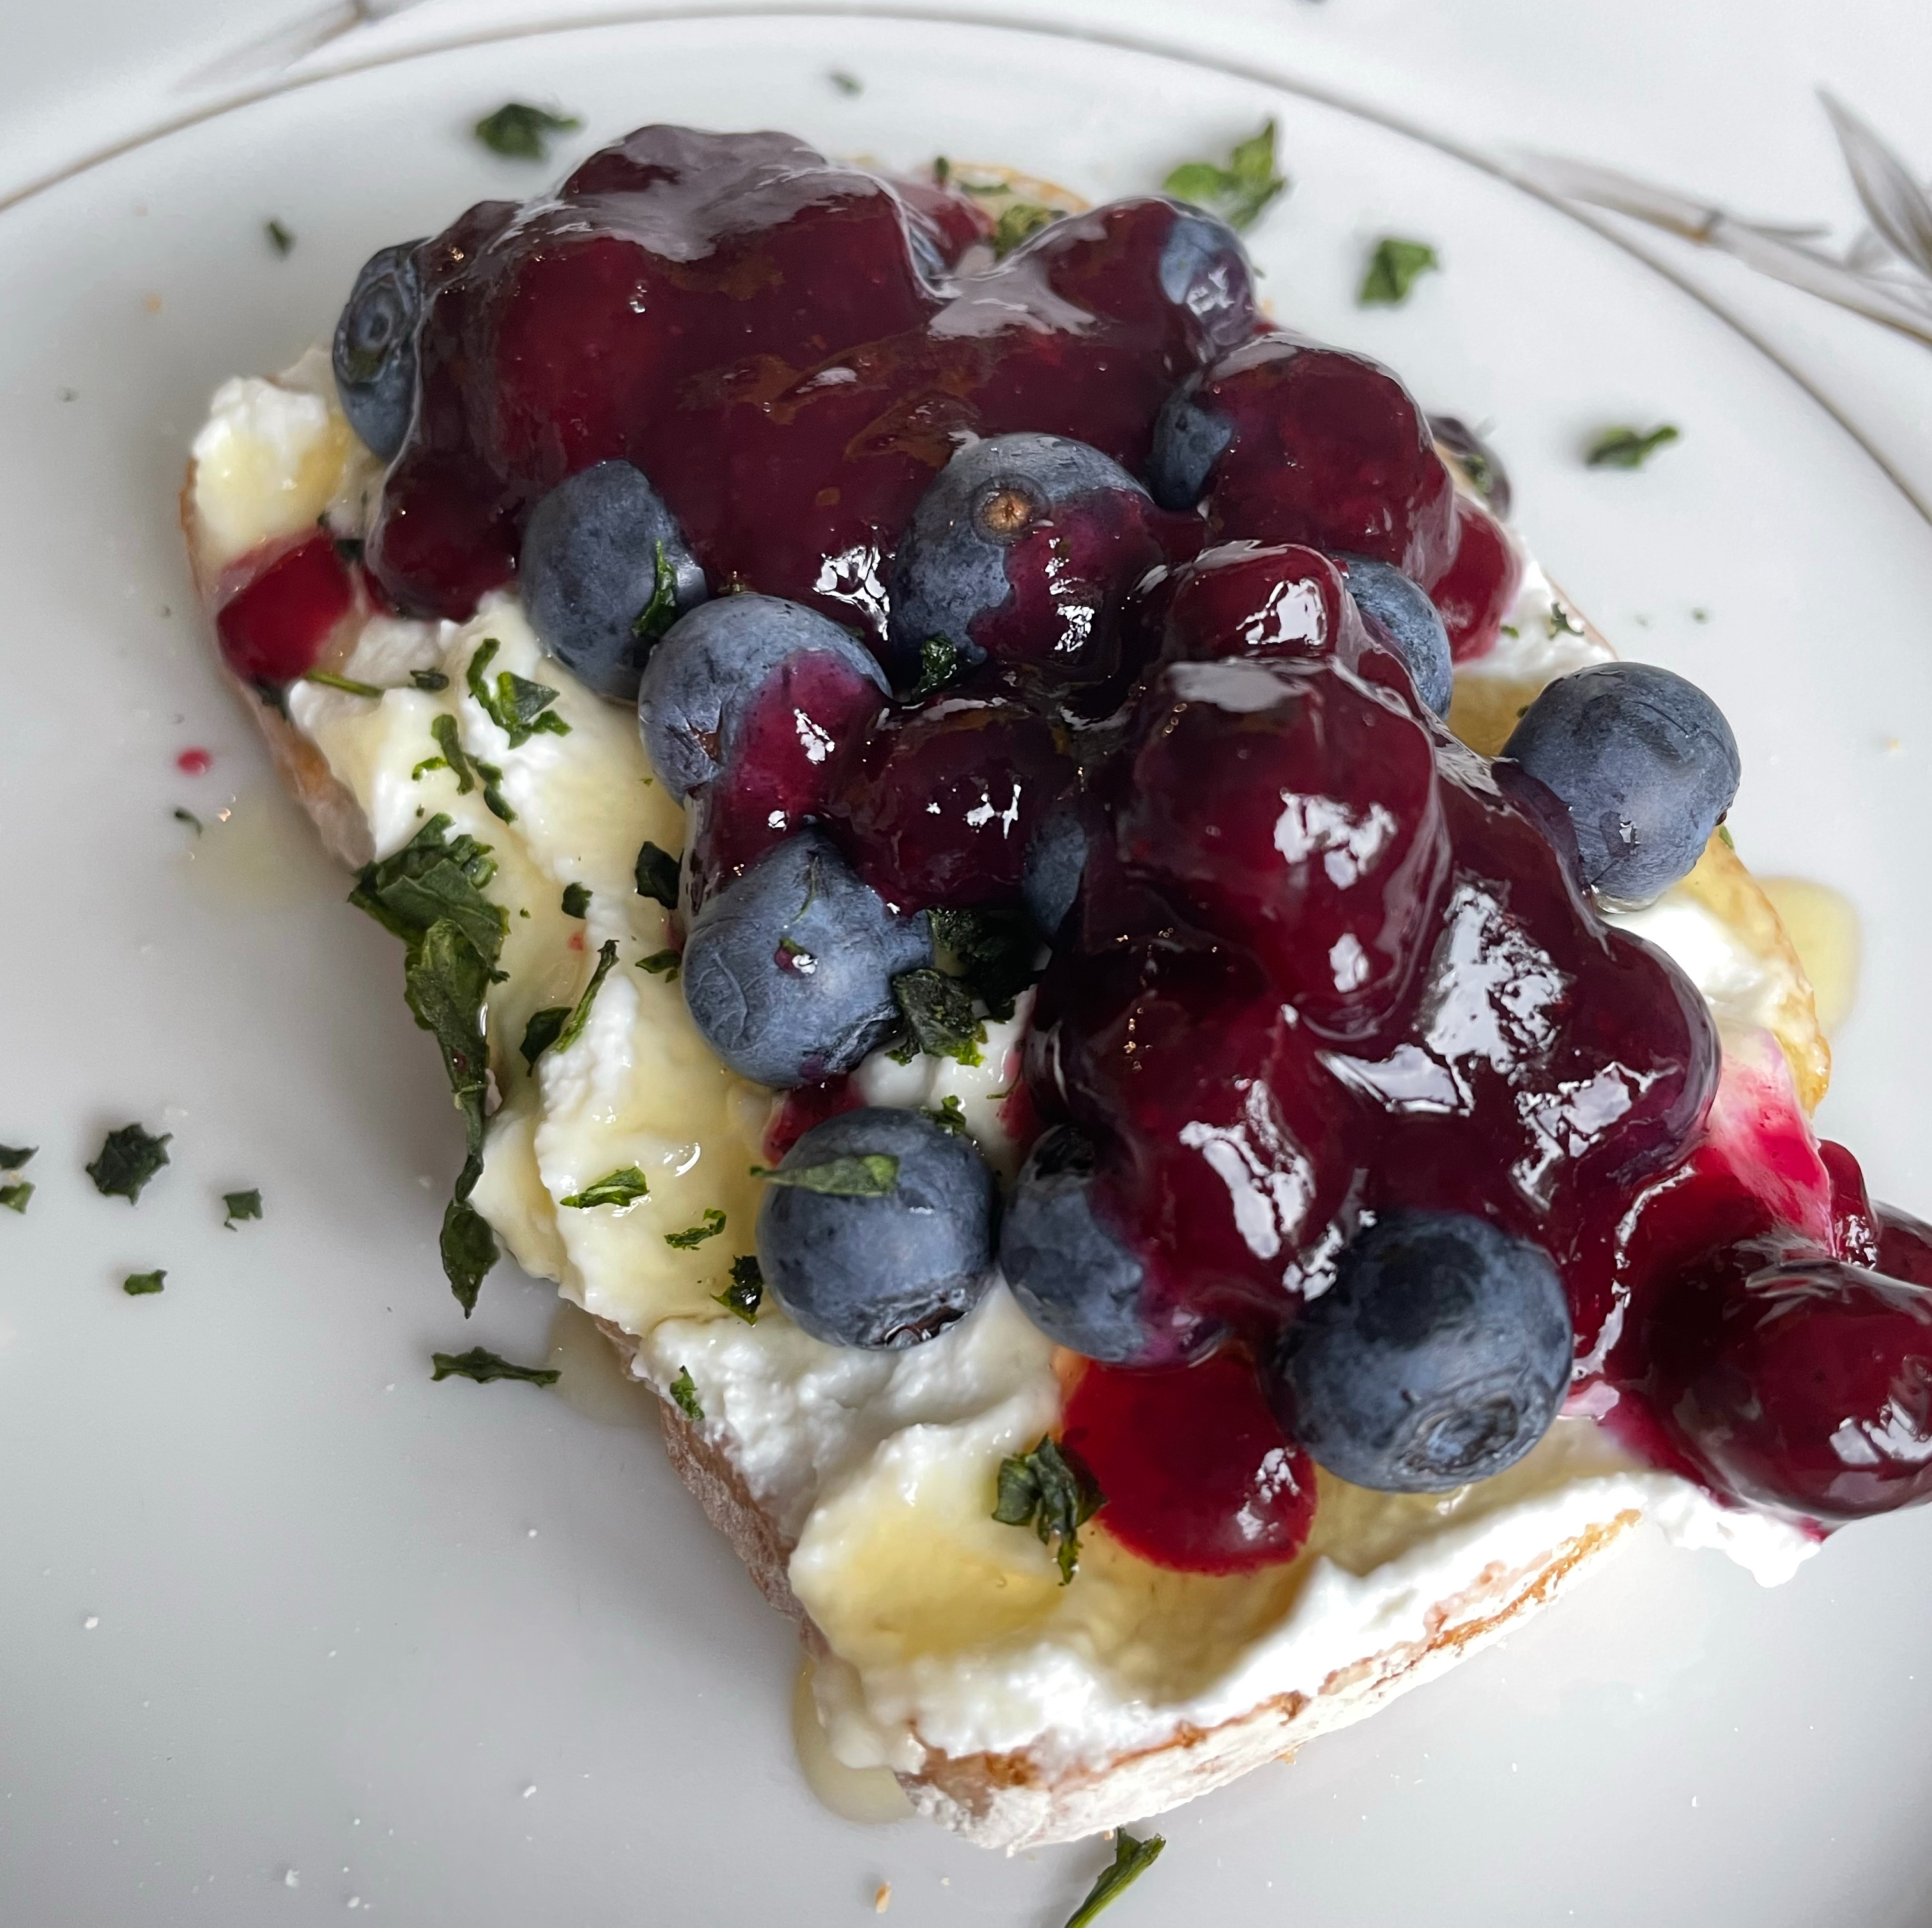
This Blueberry Lemon Sauce was a fun way to try something new and sweet. I followed this recipe from a blog called Delicious Little Bites. Try it out and let me know what you think.
Rating
10/10
Recipe
Blueberry Lemon Sauce
This was delicious and very easy to make. It’s definitely sweet, but it wasn’t nearly as sweet as I was initially thinking. I was worried, because I don’t have a sweet tooth, but this was just the right amount. If you have a sweet tooth, I’m sure you could add more sugar or vanilla extract to boost it up!
Ingredient List:
1 cup blueberries
1/2 cup water
1/4 cup sugar (I used brown sugar)
1 tbsp cornstarch, mixed with 1 tbsp water
1/4 teaspoon vanilla extract
1 teaspoon lemon juice
Recipe Directions:
Combine all ingredients in a pot and bring to a boil over medium heat
Reduce heat to low
Simmer until thickened (3-5 minutes)
Serve!
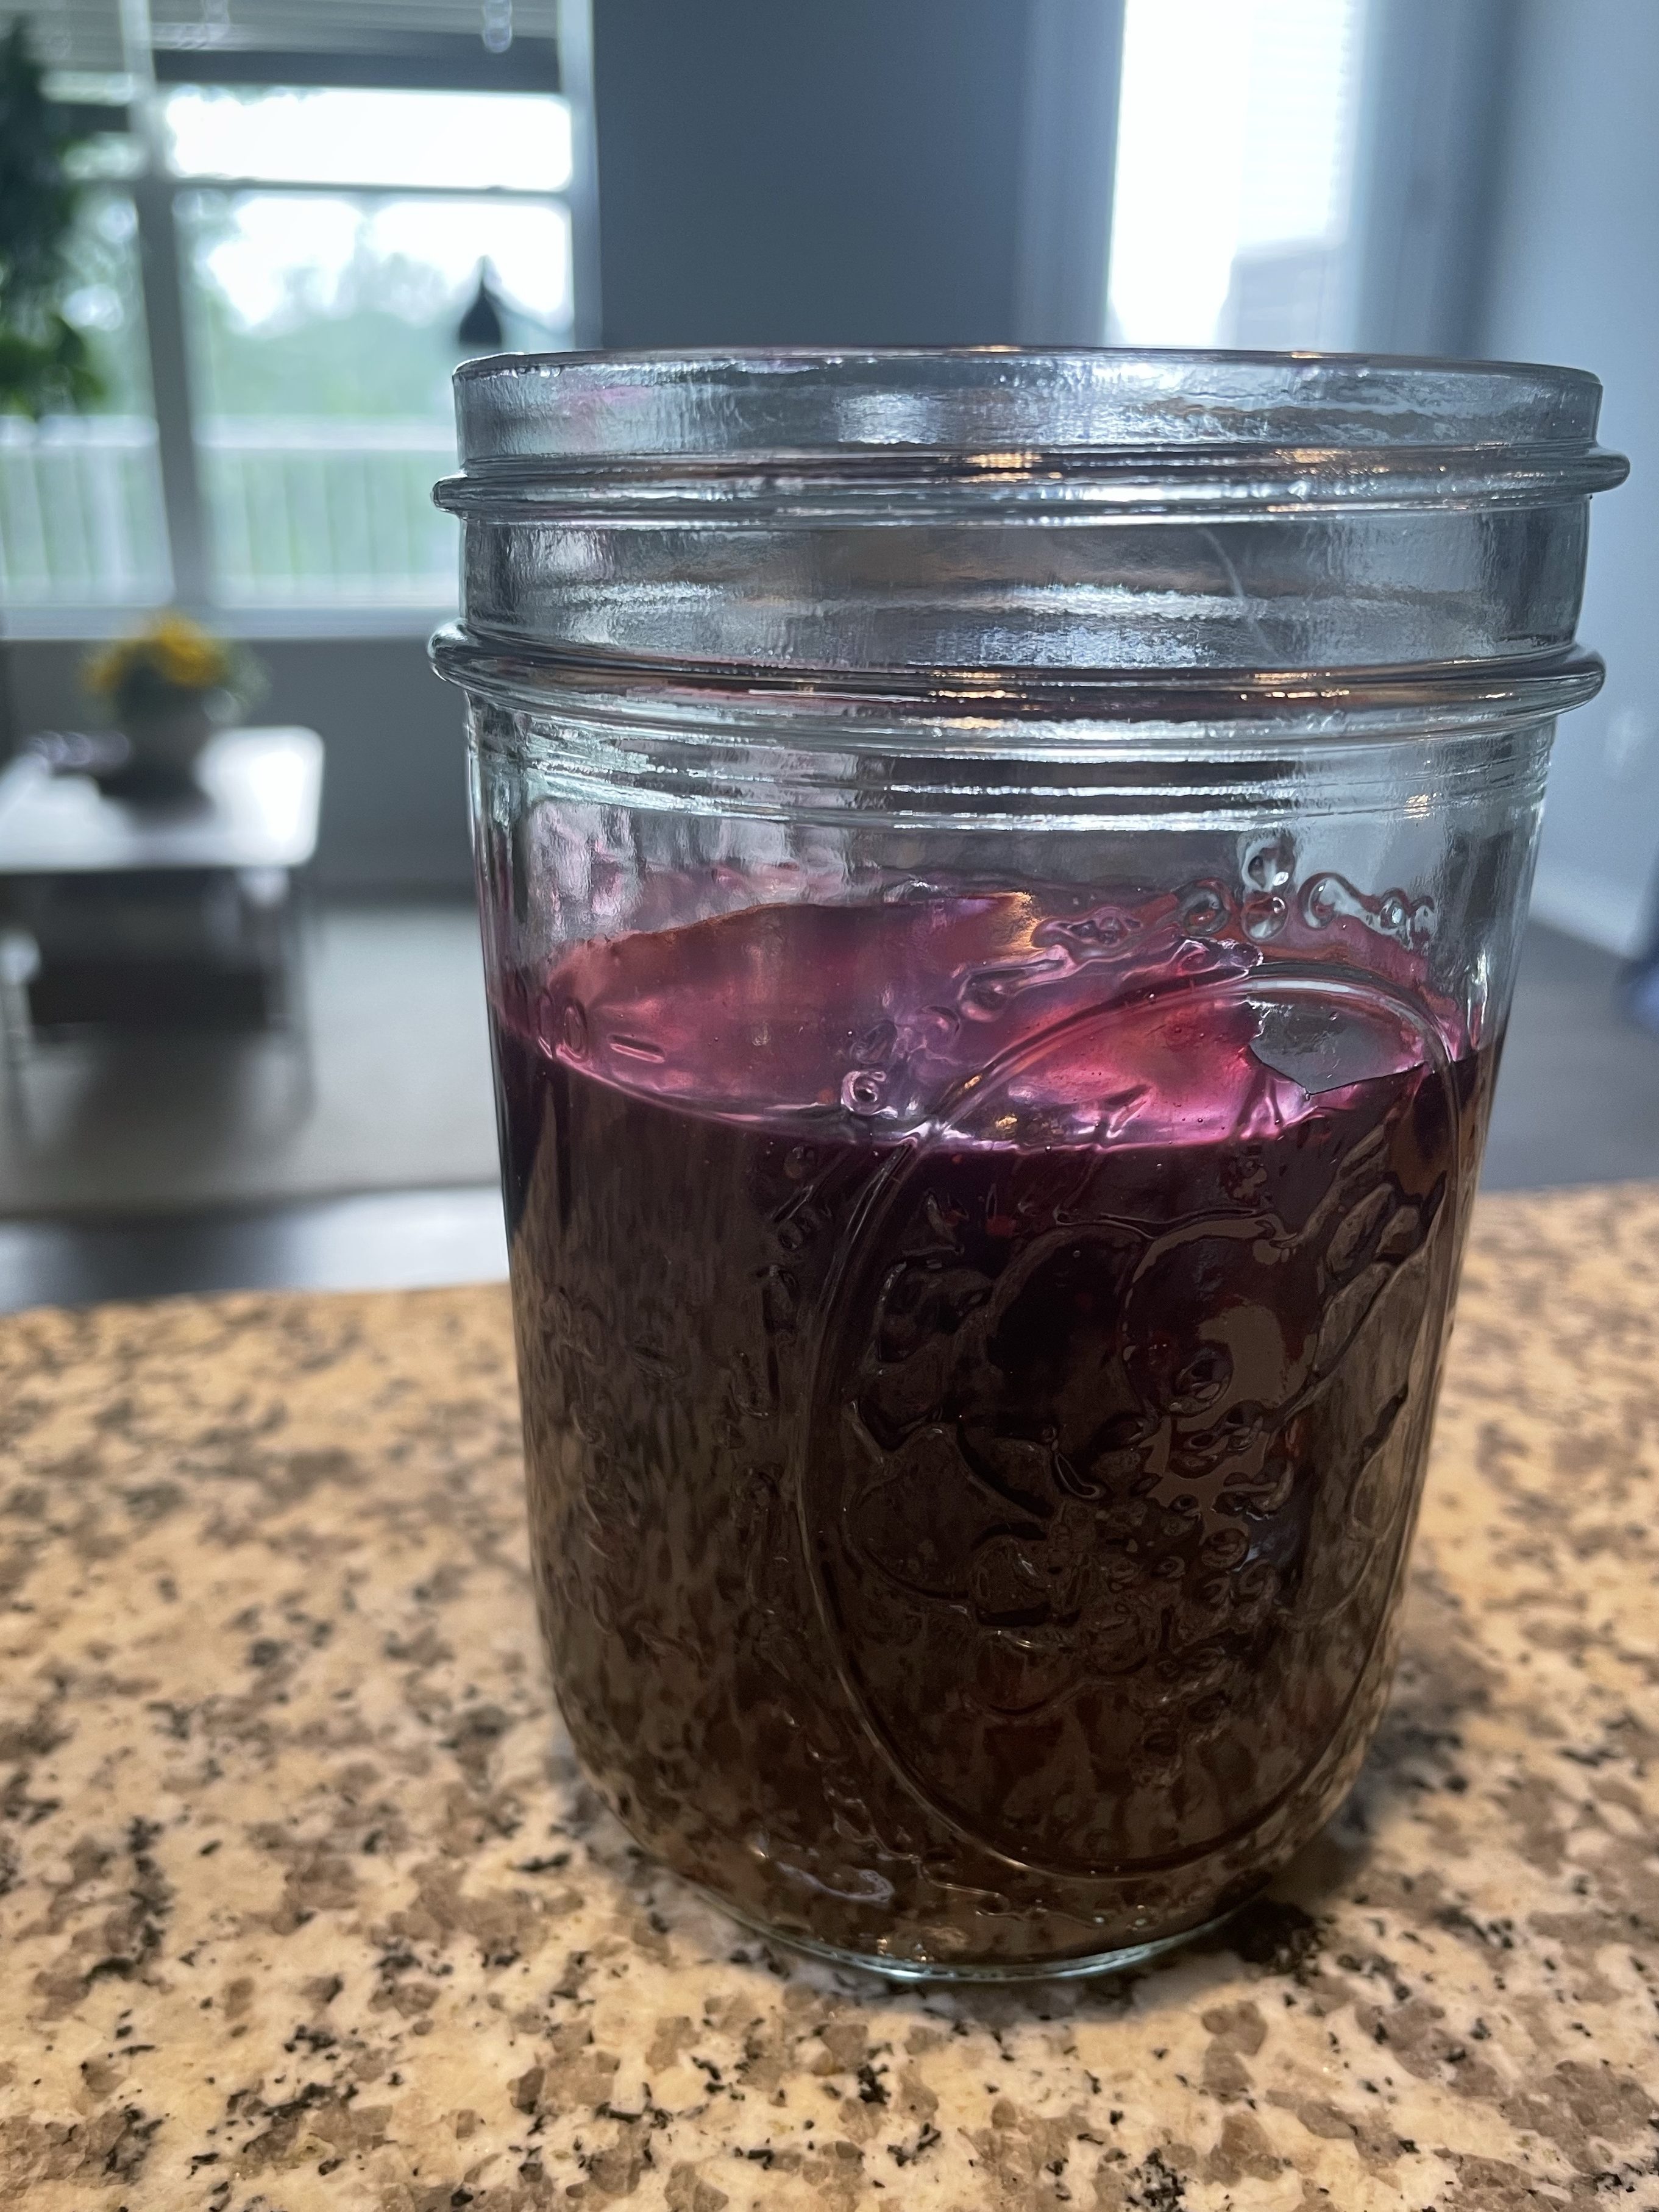
I stored mine in a mason jar in the fridge for about 3-4 days.
Follow my page on Instagram to get the latest on new posts and blog activity:
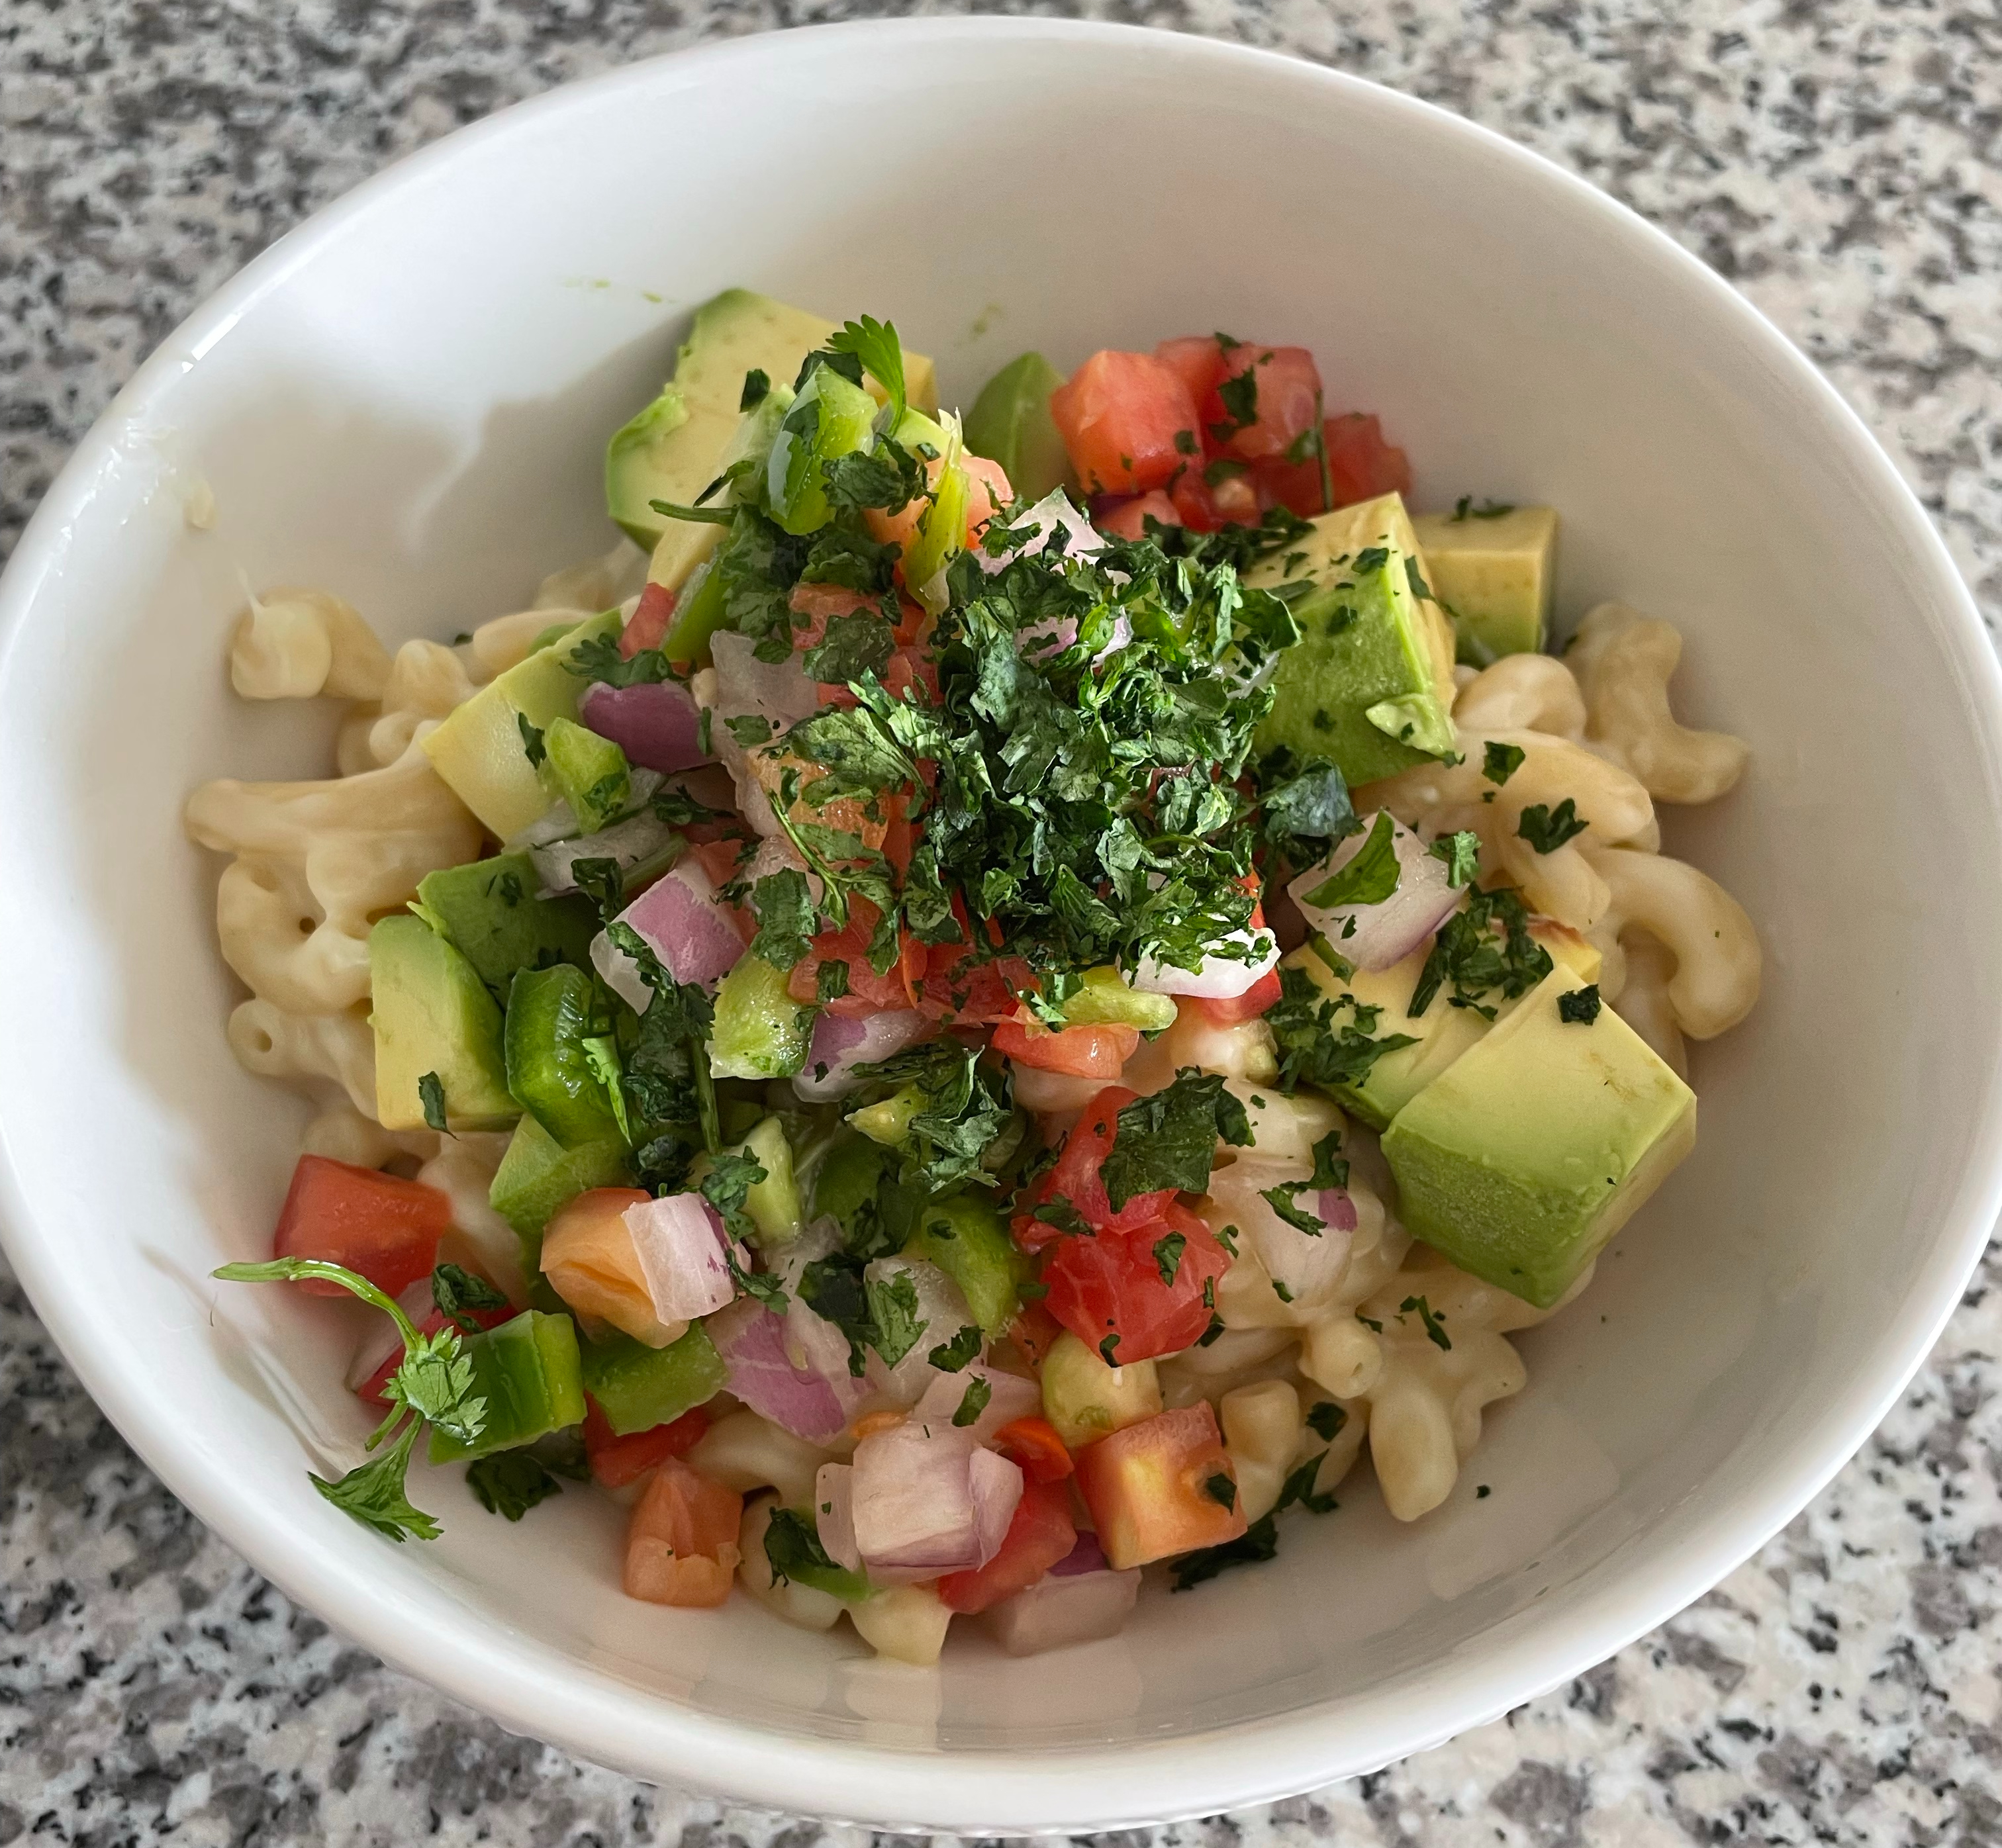
This Baja Mac n Cheese is a duplicate of a Mac n Cheese that used to be available at Panera. Funny enough, I had never tried it but I was curious a few weeks ago and decided to try and make a version of it at home. This dish was super quick and easy to make. Great for an easy dinner, quick snack, or lunches for the week. Add some chicken to increase protein.
Baja Mac n Cheese
Ingredient List:
Elbow pasta
Shredded cheese (I used provolone and mozzarella)
Milk
Mild salsa (or red onion, tomato, and green bell pepper)
Avocado
Cilantro to garnish
Recipe Directions:
Cook pasta based on package instructions.
When finished, drain and rinse.
Add 3 tbsp butter, 2tbsp milk, and cheese and mix (continue to add based on personal preference)
Serve and top with salsa mix, avocado, and cilantro.
Follow my page on Instagram to get the latest on new posts and blog activity:
Products listed are independently selected. If you buy from one of our links, we may earn a commission.
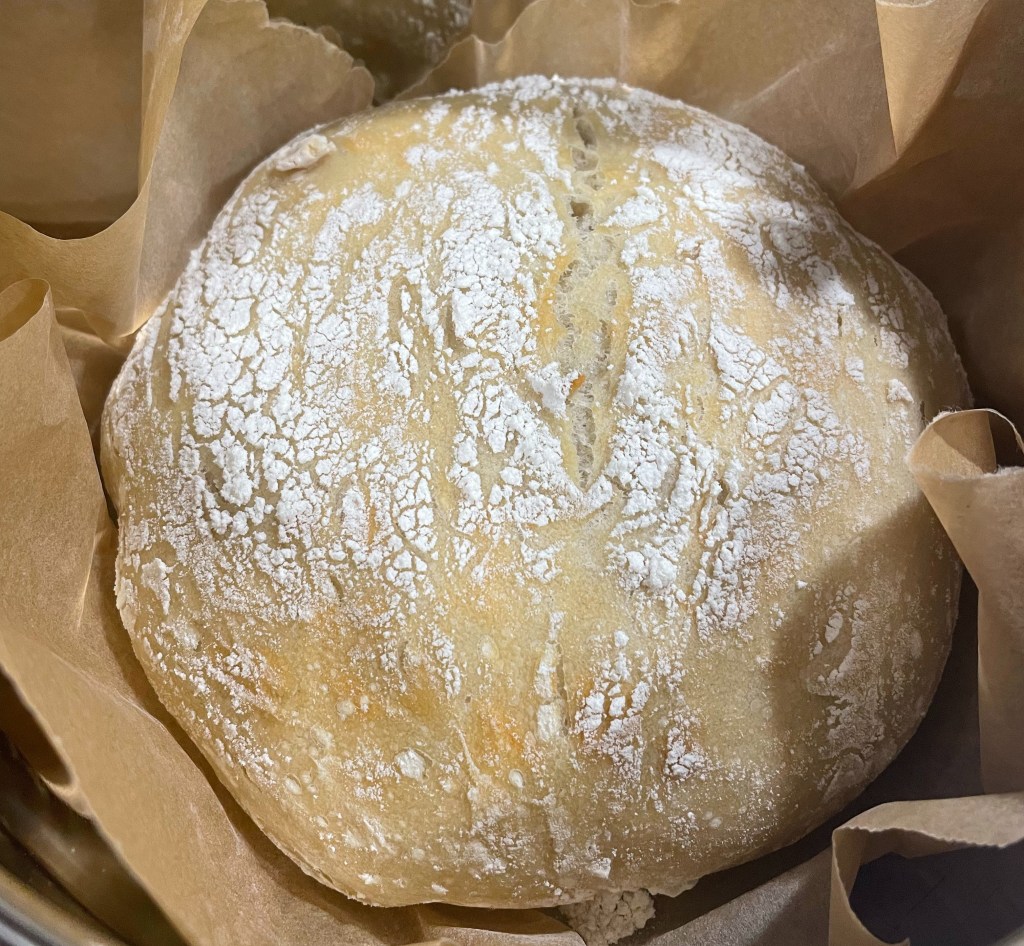
I am not a baker by any means. Baking cookies, even with directions, is something I find difficult. Although I enjoy cooking, baking is a whole different game to me. With that being said, I really want to learn how to bake, especially bread.
This No-Knead Bread is a great recipe for beginners to try out. I was amazed at how easy and hands-off this process was. The most. hands-on experience I got from this recipe was mixing the ingredients at the beginning. I found this to be much easier to do with my hands rather than a spatula, spoon or whisk.
Overall, this bread was easy to make and was delicious! After baking, I sliced my bread and stored it in the freezer to make toast for breakfast or as a snack.
Today’s blog formatting may be wonky as I am currently without a computer to do proper formatting updates. Thank you for your continued support!
It’s been two weeks since my last post and a lot has happened since then.
I received my Capstone project which I’m really looking forward to. I think I have a great team, and a great project, so I’m looking forward to getting started! I also received the details for my next job rotation. I’ll be switching in April and I’m also very excited for that opportunity.
In my personal life, I’m currently in Costa Rica. A friend of mine is celebrating his birthday and wanted to spend a week in Costa Rica I was invited to join. We’ve only been here for one day, but we did a Night Hike last night. Very cool and very interesting. We saw a sloth! And lots of bugs. And now I’m bugged out.
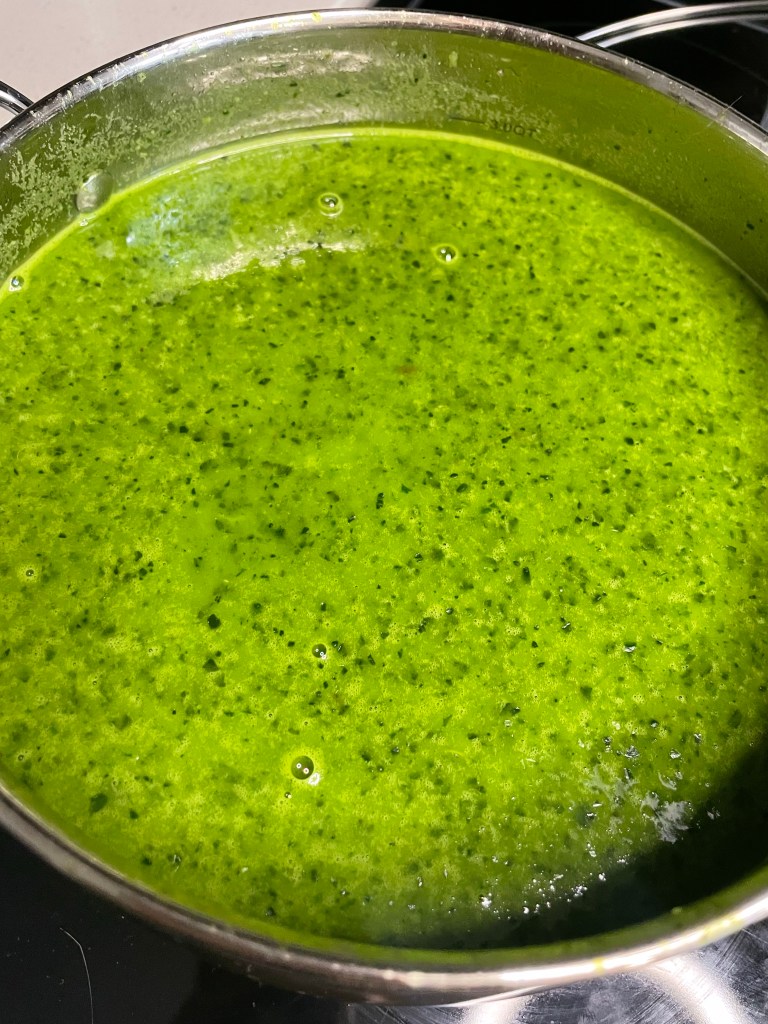
This week I’m sharing a recipe that part of the Color Series for March! For March I picked the color green for St. Patrick’s Day of course. I made a Kale Potato Soup which was delicious. It was topped with bacon and sour cream.
This recipe is from a magazine I had found last year, but recently spotted it again at my local grocery store. I’m unsure of the magazine name, but it referenced Easy Soups & Stews with a big soup bowl on the front of a white background. It’s easy to spot!
Recipe List:
10 cups kale
1 3/4 lbs Yukon potatoes, peeled and diced
3 slices bacon, chopped
1 leek, halved and sliced
2 cloves garlic
4 cups chicken broth
1/4 tsp Worcestershire Sauce
1 tbsp olive oil
1 tsp fresh rosemary
Salt and Pepper
Sour cream
Recipe Directions:
Cook bacon until crisp, about 5 mins. Remove.
Add potatoes and leek and cook until slightly softened, about 3 mins. Add garlic, rosemary, salt and pepper. Cook until browned, another 2 mins.
Add broth and 4 cups water and bring to a simmer. Cover and cook for 15 mins. Add 3/4 of kale, cover and cook for 5 mins. Add Worcestershire sauce.
Preheat broiler. Toss remaining kale with olive oil, salt and pepper, and place on baking sheet. Broil about 3 mins. Thin sour cream with water.
Purée soup with immersion blender, or working in small batches in a blender. Ladle into bowls and serve with bacon, almonds, sour cream and kale chips!
Today is the last post from what has been a very fun February Color Series! Next week I’ll do a regular recipe, and from there we’ll be transitioning into March for the color green!
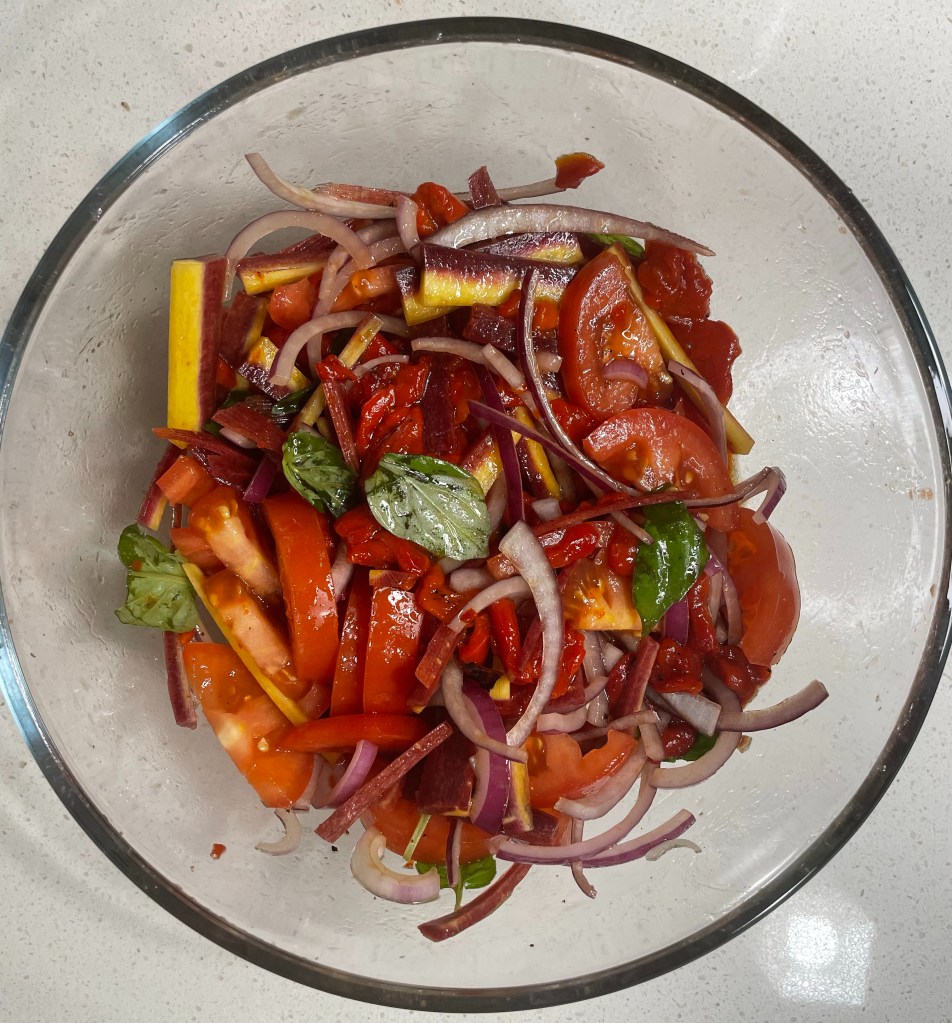
This was a great side salad to pair with lunch or dinner, and was delicious both cold and warmed up. Prep work was the longest part of making this dish, but overall it was very quick and easy. Save yourself time and purchase pre-sliced roasted red bell peppers!
Red Tomato Salad
Recipe List:
1 small or 1/2 medium onion, sliced thin
3 Roma tomatoes
1 thin jar or 1/2 a large jar of roasted red bell peppers, sliced
3 large purple carrots, halved and sliced thin
Basil
1 tbsp balsamic vinegar
2 tbsp olive oil
Salt and pepper to taste
Recipe Directions:
Prep onion, tomatoes, roasted red bell peppers, and purple carrots
Mix veggies with basil, balsamic vinegar, olive oil, and salt and pepper
Serve!
Follow my page on Instagram to get the latest on new posts and blog activity:
Disclaimer: Any links are provided as a convenience and for informational purposes only; they do not constitute an endorsement or an approval of any of the products, services or opinions of the corporation or organization or individual.
When I was younger, breakfast was usually a bowl of cereal with some fruit and a glass of milk. On weekends we sometimes had a more elaborate breakfast of eggs, sausage and bacon. Growing up this was alway great and hit the spot. As I got older, this didn’t satisfy the same morning hunger and eventually I stopped eating breakfast all together and just. had a cup of coffee.
As part of the Color Series I am working on, I was looking for a red/pink themed breakfast I could make that would also be practical to bring to work. There were a lot of great ideas online, but very few were realistic to bring to the office. I saw someone blend some strawberries to add to chia pudding and I thought that would be a great place to start!
Full disclosure: I don’t actually like the texture or taste of chia pudding, or pudding in general. Mixing it in with the yogurt was a great way to disguise the chia pudding and still get the benefits.
Chia seeds are a great source of fiber and also contain omega-3 fat, antioxidants, and more.
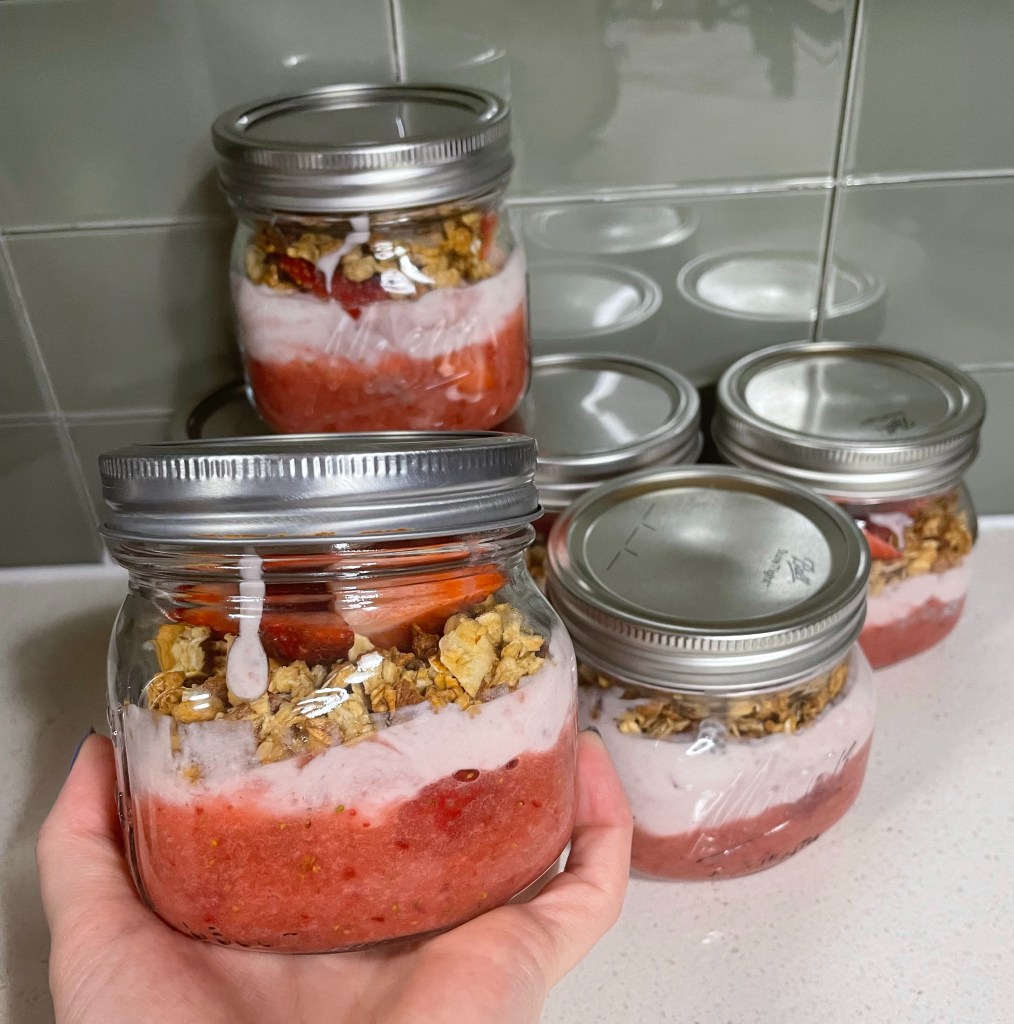
I’m thinking of also making a blue berry themed chia pudding parfait, but for now enjoy my Strawberry Chia Pudding Parfait and my Vanilla Chia Pudding Parfait. Thear are super work-friendly, easy to throw in your lunch bag, and also very easy to clean at the end of the day (straight into the dishwasher!).
Strawberry Chia Pudding Parfait
Recipe List: Makes 6, 6oz parfaits
2 packs of strawberries
1 pack halved/sliced, 1 pack for blending
4 tbsp chia seeds
1 cup milk (I used almond milk)
1 tbsp honey
Strawberry yogurt
Granola
Recipe Directions:
Prep the chia pudding (I recommend doing this the night prior)
Mix chia seeds, milk, and honey in a bowl and refrigerate overnight
The next morning the chia seeds will have expanded and create a pudding-like texture
Instead of overnight, you can also refrigerate for 4 hours and check, if they’re not at a consistency you like, mix, and let sit for a little longer
Prep the strawberry blend
Add one pack of strawberries to a blender and pulse. You don’t want to make this a think blend. It’s just an extra touch of sweetness to add to your breakfast
Make your parfaits!
Coat base of Mason Jar in strawberry purée
Add chia seed pudding (I did one scoop)
Add strawberries
Add strawberry yogurt (I added enough to cover the strawberries)
Add more strawberries
Add granola
The amount you put for each layer is really up to you based on what you like! These directions are just approximates of what I did to make mine, but have fun with it!
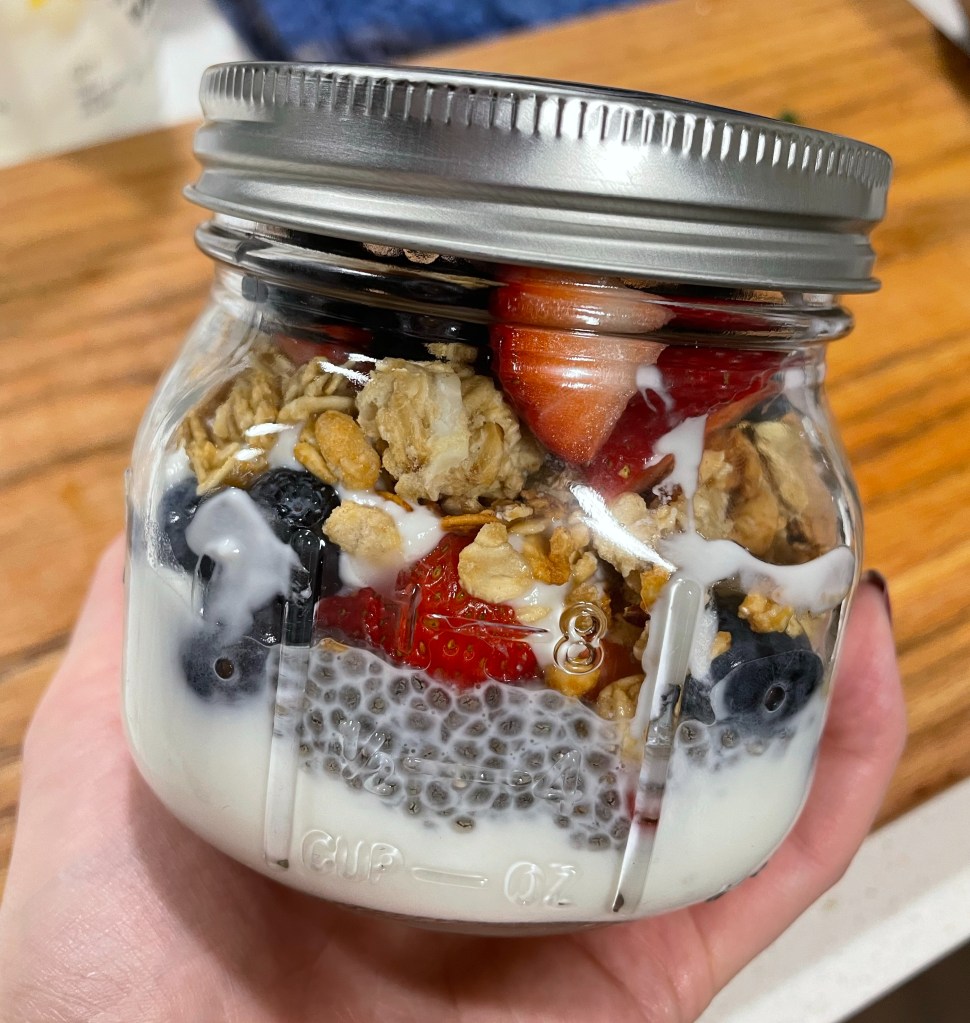
Vanilla Chia Pudding Parfait
Recipe List: makes 6, 6oz. parfaits
1 pack of strawberries, halved/sliced
1 pack of blueberries
4 tbsp chia seeds
1 cup milk (I used almond milk)
1 tbsp honey
Vanilla yogurt
Granola
Recipe Directions:
Prep the chia pudding (I recommend doing this the night prior)
Mix chia seeds, milk, and honey in a bowl and refrigerate overnight
The next morning the chia seeds will have expanded and create a pudding-like texture
Instead of overnight, you can also refrigerate for 4 hours and check, if they’re not at a consistency you like, mix, and let sit for a little longer
Make your parfaits!
Add 3 scoops of yogurt
Add chia seed pudding (I did one scoop)
Add strawberries and blueberries
Add scoop of yogurt (plus a little more to cover fruit)
Add more strawberries and blueberries
Add granola
The amount you put for each layer is really up to you based on what you like! These directions are just approximates of what I did to make mine, but have fun with it!
Follow my page on Instagram to get the latest on new posts and blog activity:
Disclaimer: Any links are provided as a convenience and for informational purposes only; they do not constitute an endorsement or an approval of any of the products, services or opinions of the corporation or organization or individual.
I’m hitting a point where I’m cooking more than I can post! It’s very exciting for me because it means I’m starting to build a collection of recipes. It also means I can start posting more frequently. I haven’t decided yet what the new post schedule will look like. I recently switched to posting on Saturdays instead of Fridays, so I’d have to figure out which day in the week would be best for my second post, and when I would be able to write that post based on my work schedule. This change will likely not happen soon, as I’d like to build a bit more of a recipe collection to know I have enough. I only post what I cook, and I don’t want to have to cook extra just to make a post. That seems silly. I’m looking to see if I can make this change in late June, so stay tuned!
Some other changes to the blog are that I will be adding a Series page. Although I’ve only done two months of this Color Series, I’ve had so much func coming up with creative ways to put foods together to make meals. I’d like to do some more series in the future. Like the previous change, this will not happen this month. It will probably come around the May/June timeframe simply because I’ve got to come up with some ideas! Recipes would still be stored under their corresponding category (breakfast, lunch, etc.) but would also be found in the Series tab under their corresponding series title. I hope you’ll stick around to see those changes take effect!
With that, let’s get to it!
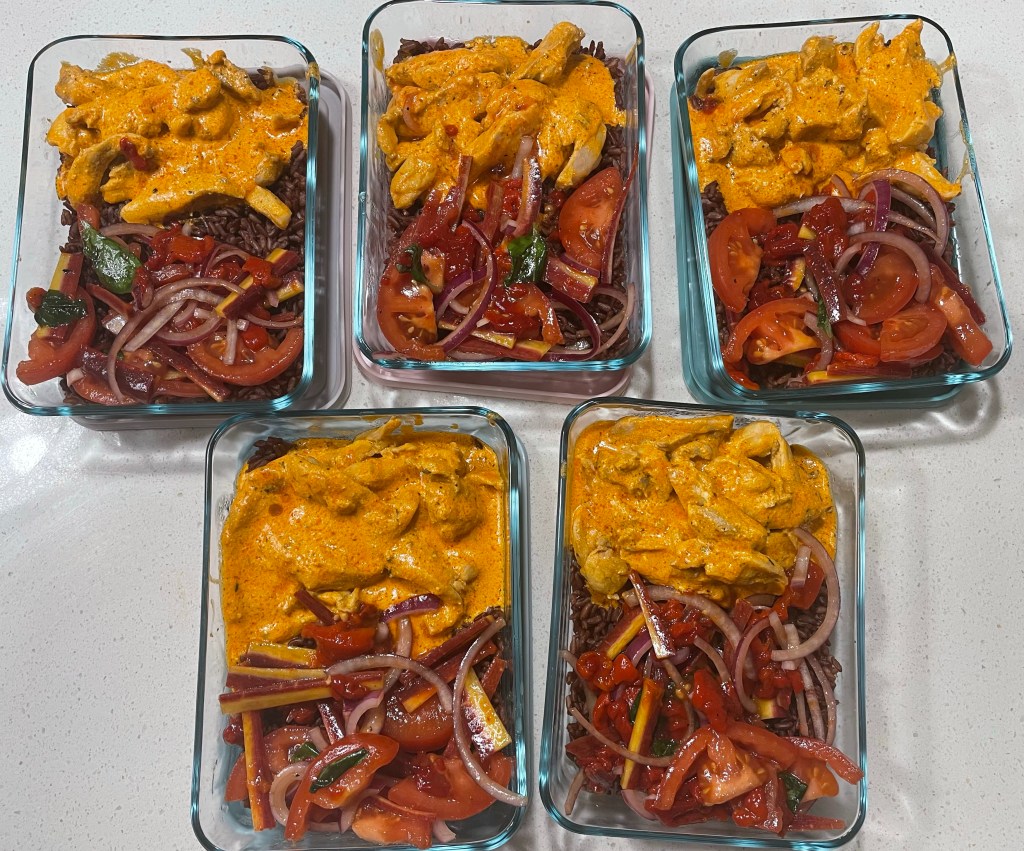
Welcome to the Color Series for February! I’ve got three dish ideas to share for the month of February, a lunch, a breakfast, and a side salad. Today I’ll be sharing a lunch recipe. This is a Roasted Red Bell Pepper Chicken with red rice. The sauce ended up coming out more orange than red, but it uses red ingredients, so it counts! The side salad in the pictures will be shared in a later post, so make sure you check back!
Roasted Red Bell Pepper Chicken with Red Rice
Recipe List:
2 cups Red Rice
2 1/2 cups water
Boneless, skinless chicken thigh
1/2 jar of roasted red bell peppers (the thin jar!)
3-5 tbsp olive oil
3-4 garlic cloves
1 cup sour cream
1 tbsp Italian seasoning
Salt and Pepper
Recipe Directions:
Add rice and water to Instant Pot. Cook for 20 minutes on high pressure, and release for 10 minutes. Rice is ready!
Blend the roasted red bell peppers, olive oil, garlic, salt and pepper for your smooth chicken cream/sauce.
In a medium skillet, add chicken with Italian seasoning, and cook until lightly browned. Transfer to a plate.
Add your blended sauce and sour cream to the skillet. Cook over medium heat until well mixed and creamy, about 3 minutes.
Add your chicken back to the skillet and coat with the sauce.
Serve over rice (and add your side dish).
Enjoy! Let me know what you think.
Follow my page on Instagram to get the latest on new posts and blog activity: