As the title states, Happy Thanksgiving!
I had Thanksgiving up in San Francisco again at my sister’s place. Last year we had a whole group come over and she hosted. It was a lot of fun but also required a lot of work on her part – prepping the food, baking the pies, cleaning the house, getting alcohol, etc. Which was fine, and we all had a great time, but this year we’re just doing us and it’s much more relaxed.
This year I really wanted to pitch in and help out so I made a side dish. I intended to prep the dish at my place and then drive up, but I woke up later than I intended to and traffic was already starting to get heavy. So instead I brought all of the ingredients up to her place and prepped the stuff Thanksgiving morning (which actually turned out better because I wasn’t as stressed).
I made some Garlic Butter Roasted Carrots as a side dish and they looked soooo good online, so I had to try them out! The recipe was super easy to follow which was nice, and it didn’t require me to buy much other than carrots and parsley, which was great because I didn’t want to buy a bunch of stuff. I followed the recipe from a blog called Diethood (here’s the link), which I originally found on Pinterest.
 The recipe calls for 2 lbs. of carrots which I initially thought was A LOT, but to be honest, if I were to make this again I would probably add another pound of carrots. We eat a lot at Thanksgiving, and it’d be nice to have extra for leftovers. I started by washing and peeling the carrots, which normally I just wash them. I never really think to peel them, because I’ve just cleaned them, but they look so much more appetizing once they’ve been peeled. It takes a little more time but I’ll probably do this from now on.

From there, the recipe says to cut the carrots into diagonal 2-3 inch pieces. For some of the thicker parts of the carrots I cut them smaller than the 2 inches because they were so thick and I didn’t think they would cook all the way through (which they kinda did). For the thinner pieces I left them at the 2 inch recommendation. I eyeballed it, so my measurements were probably super off, but hey, at least they look pretty. Additionally, in the photo the displayed on the blog, 2-3 inches seemed more like a recommendation rather than a direction. So I went for it.
The next step was to melt the overwhelming amount of butter (I had to double check the recipe three times and then I googled the amount to make sure I wasn’t crazy). It required 5 tablespoons, which I thought was nasty, but when it came down to it, I think it was necessary. 4 tablespoons probably would have worked as well, but at that point, what’s the harm in adding another one? 4 cloves of garlic were added to the melted butter and mixed around until the garlic was light brown. From there, this was mixed in with the carrots and then popped in the oven at 425º. The recipe said to cook them for 22-30 minutes. I opted for 25 minutes and then kept them in a little longer after (an extra minute or two) because the really thick pieces weren’t tender enough yet.
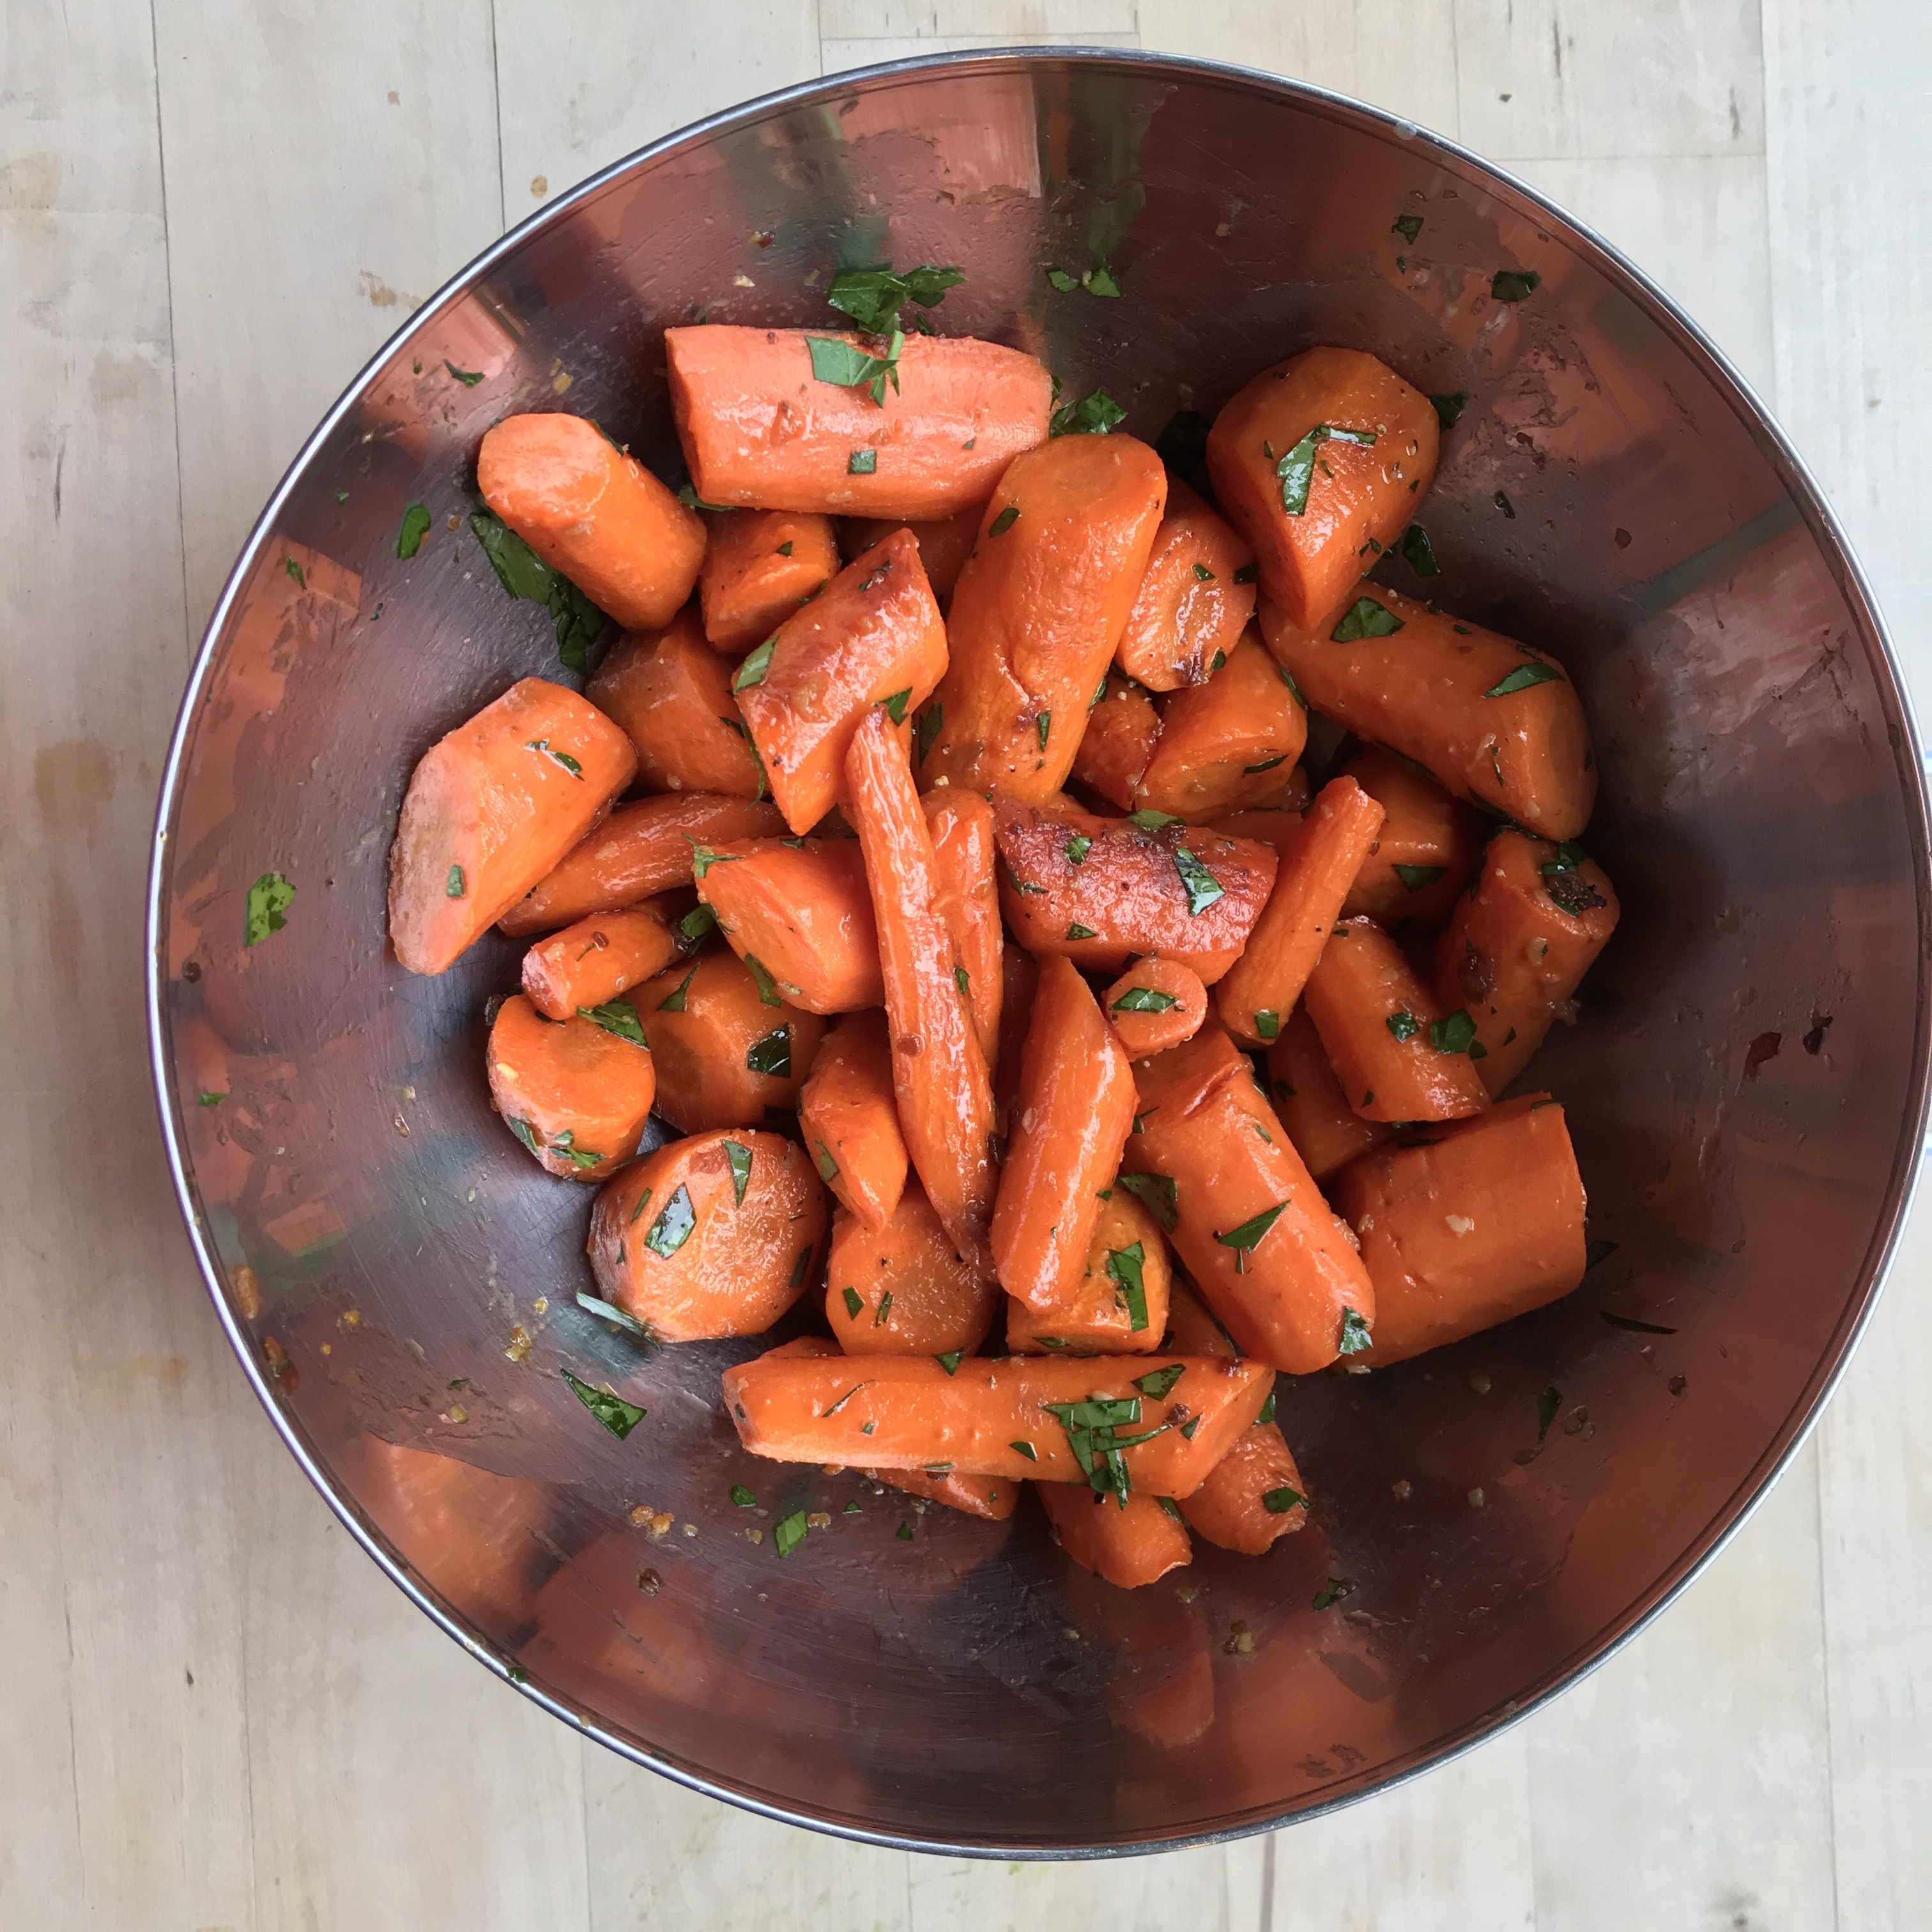
After that, I transferred them back into the bowl and added parsley, salt, and pepper. They smelled SO GOOD! As you can see from the photo, 2 lbs doesn’t really fill up the bowl, which is why I might recommend another pound, just so there’s plenty rather than not enough. My sister said the carrots look good so we were looking forward to trying them with our Thanksgiving feast. Like I said, this recipe was super easy to follow and I’m so glad I found it. I highly recommend trying this for your next Thanksgiving feast or even just for dinner one day (mind the butter). The blog also has a ton of other recipes that look delicious! You might find something else you like!
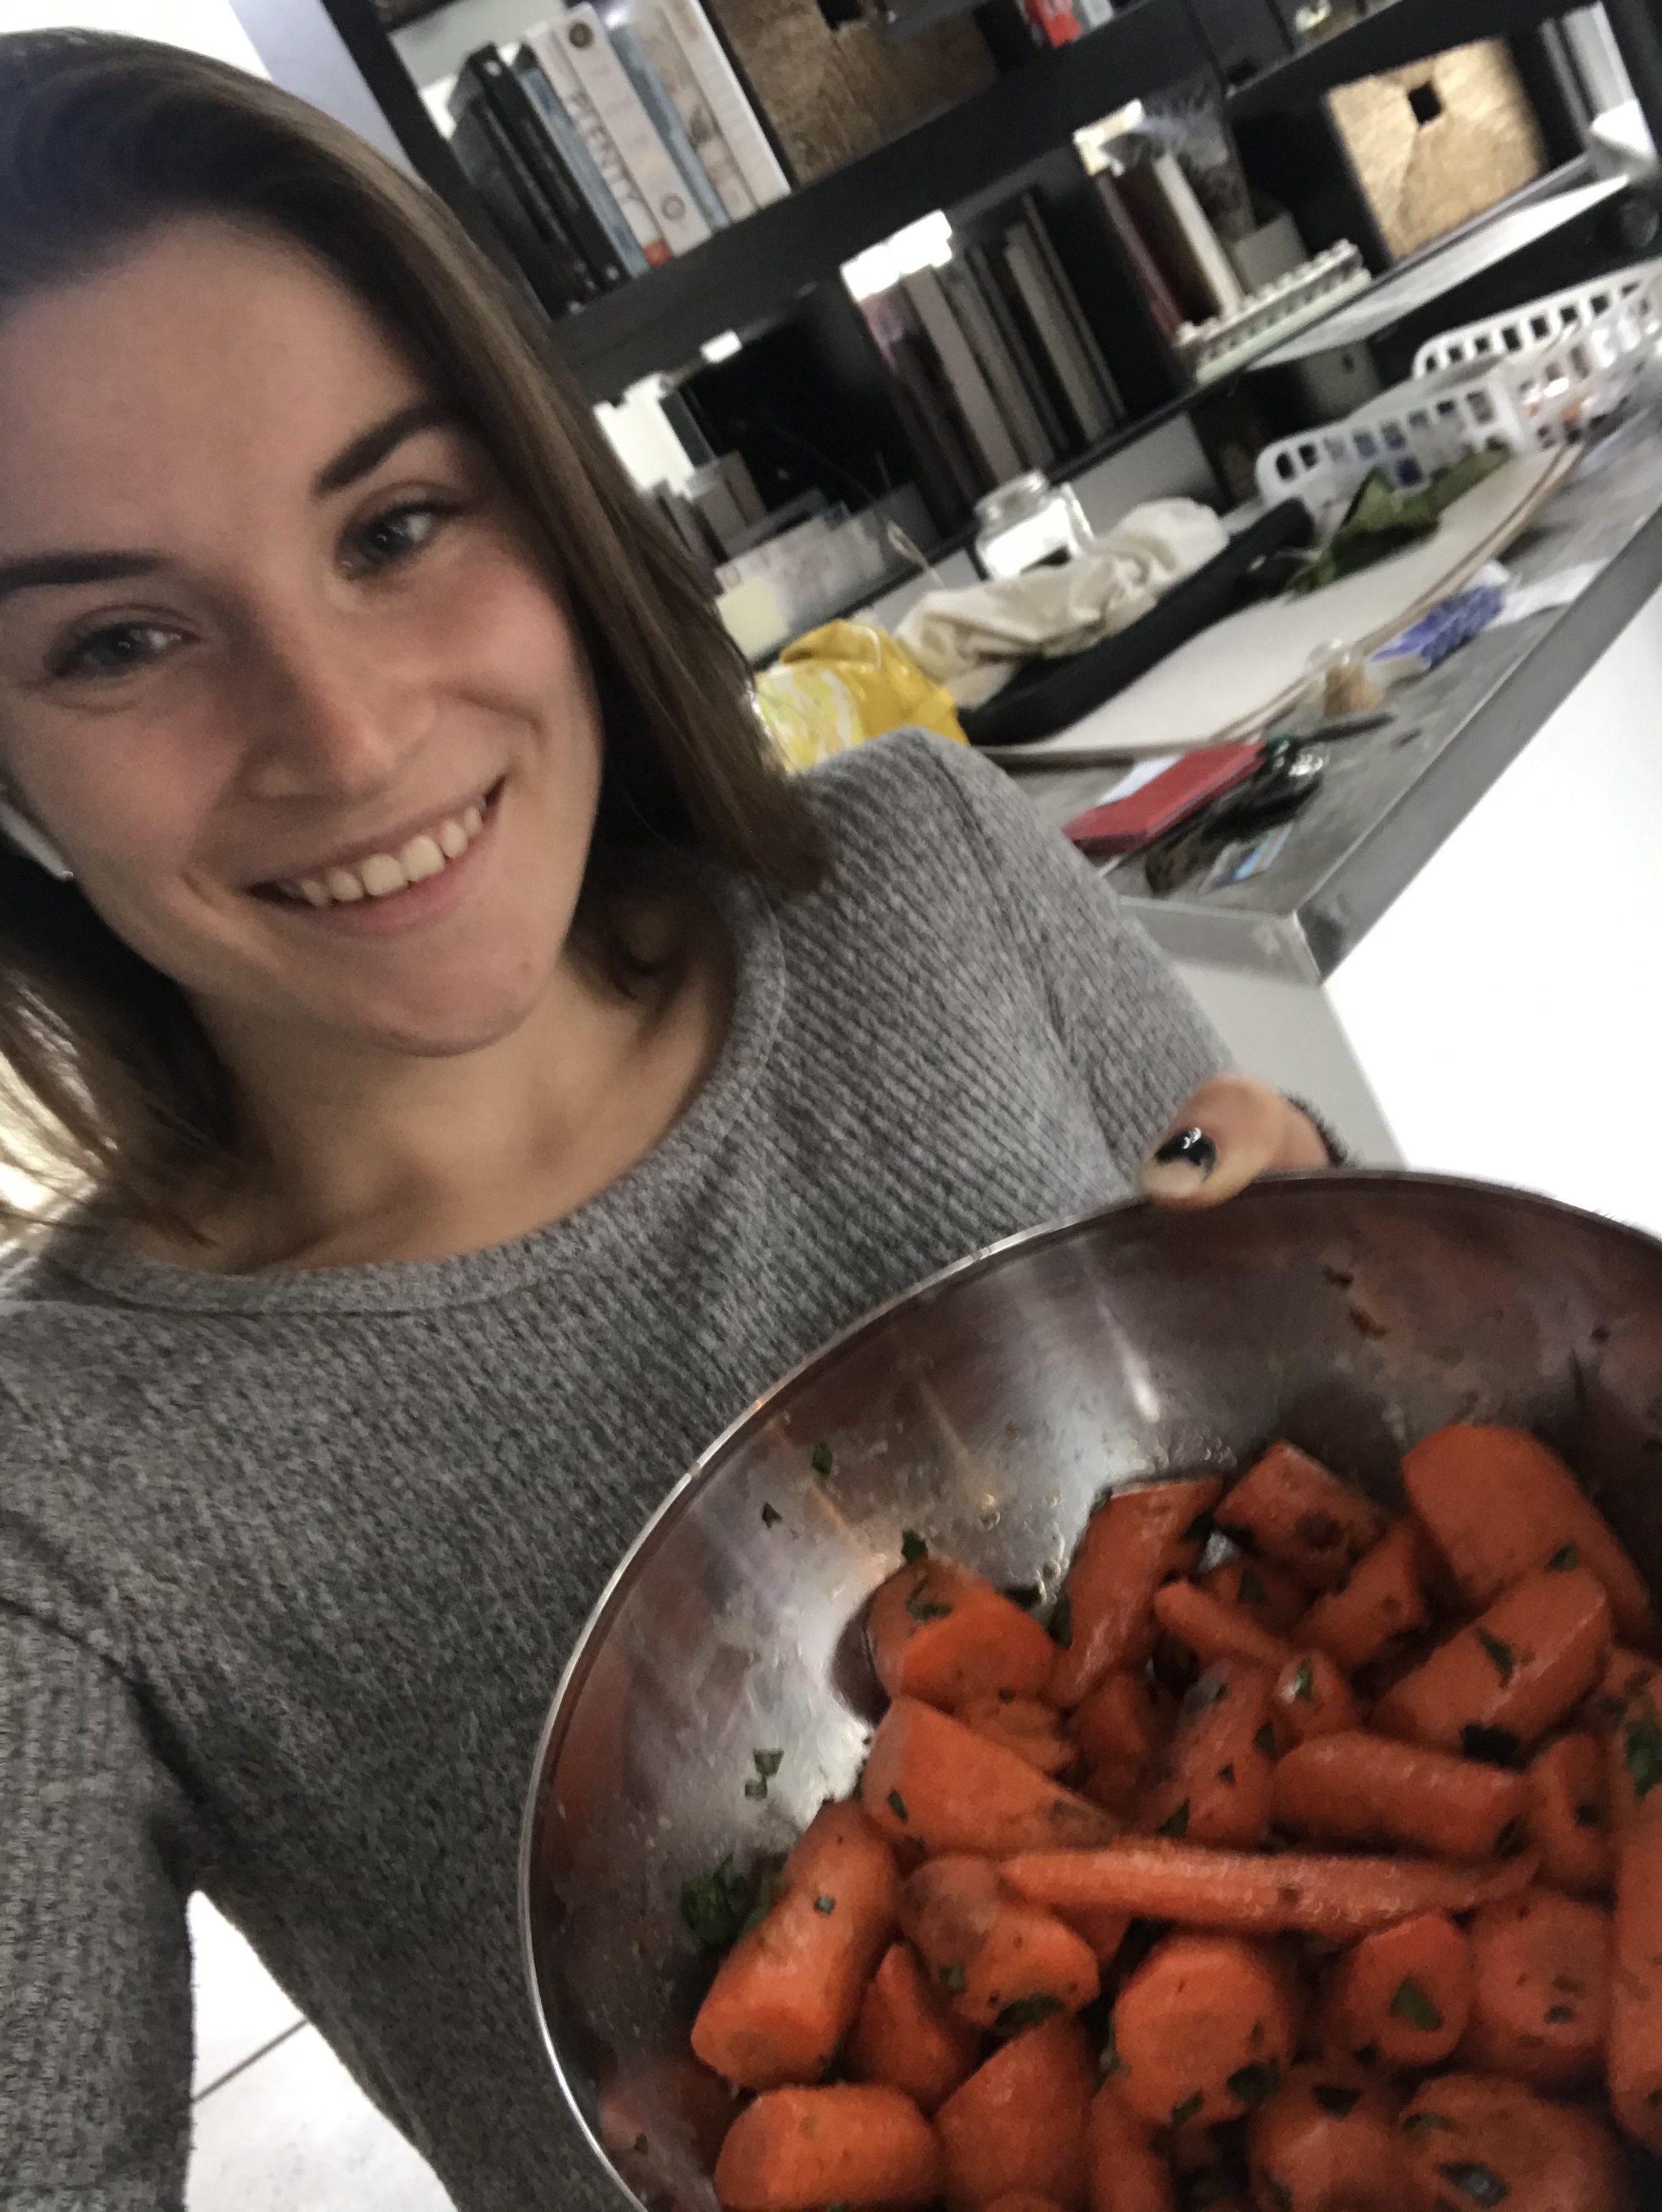
As you can see, I’m really proud of my carrots. I think they turned out great.
After the carrots were made, my sister came home from errands and started prepping the cranberry sauce, vegetables and, of course, the turkey. While we were waiting for the turkey to finish up, we did some Champagne and Prosecco tasting; planning for a holiday party. We agreed the Champagne was better and that’s what she’ll probably opt for.
And now, the turkey is officially ready! Time for us to eat, and then probably watch some Rick and Morty or a movie. I’m thankful I get to spend Thanksgiving with my sister, and can’t wait to see the rest of my family during the Christmas holiday.
Happy Thanksgiving to all and enjoy your holiday!
To be continued…
Gabriela
Featured Image was obtained from: http://www.carlswebgraphics.com/thanksgiving-graphics.html