Since I learned how to make bread at home, I’ve been interested in seeing what else I can bake or create. Baking is not my forte, which sounds ridiculous since I enjoy cooking. But I really struggle with baking. I think because, eve though there’s a recipe, sometimes it’s based on look and taste rather than follow exact instructions.
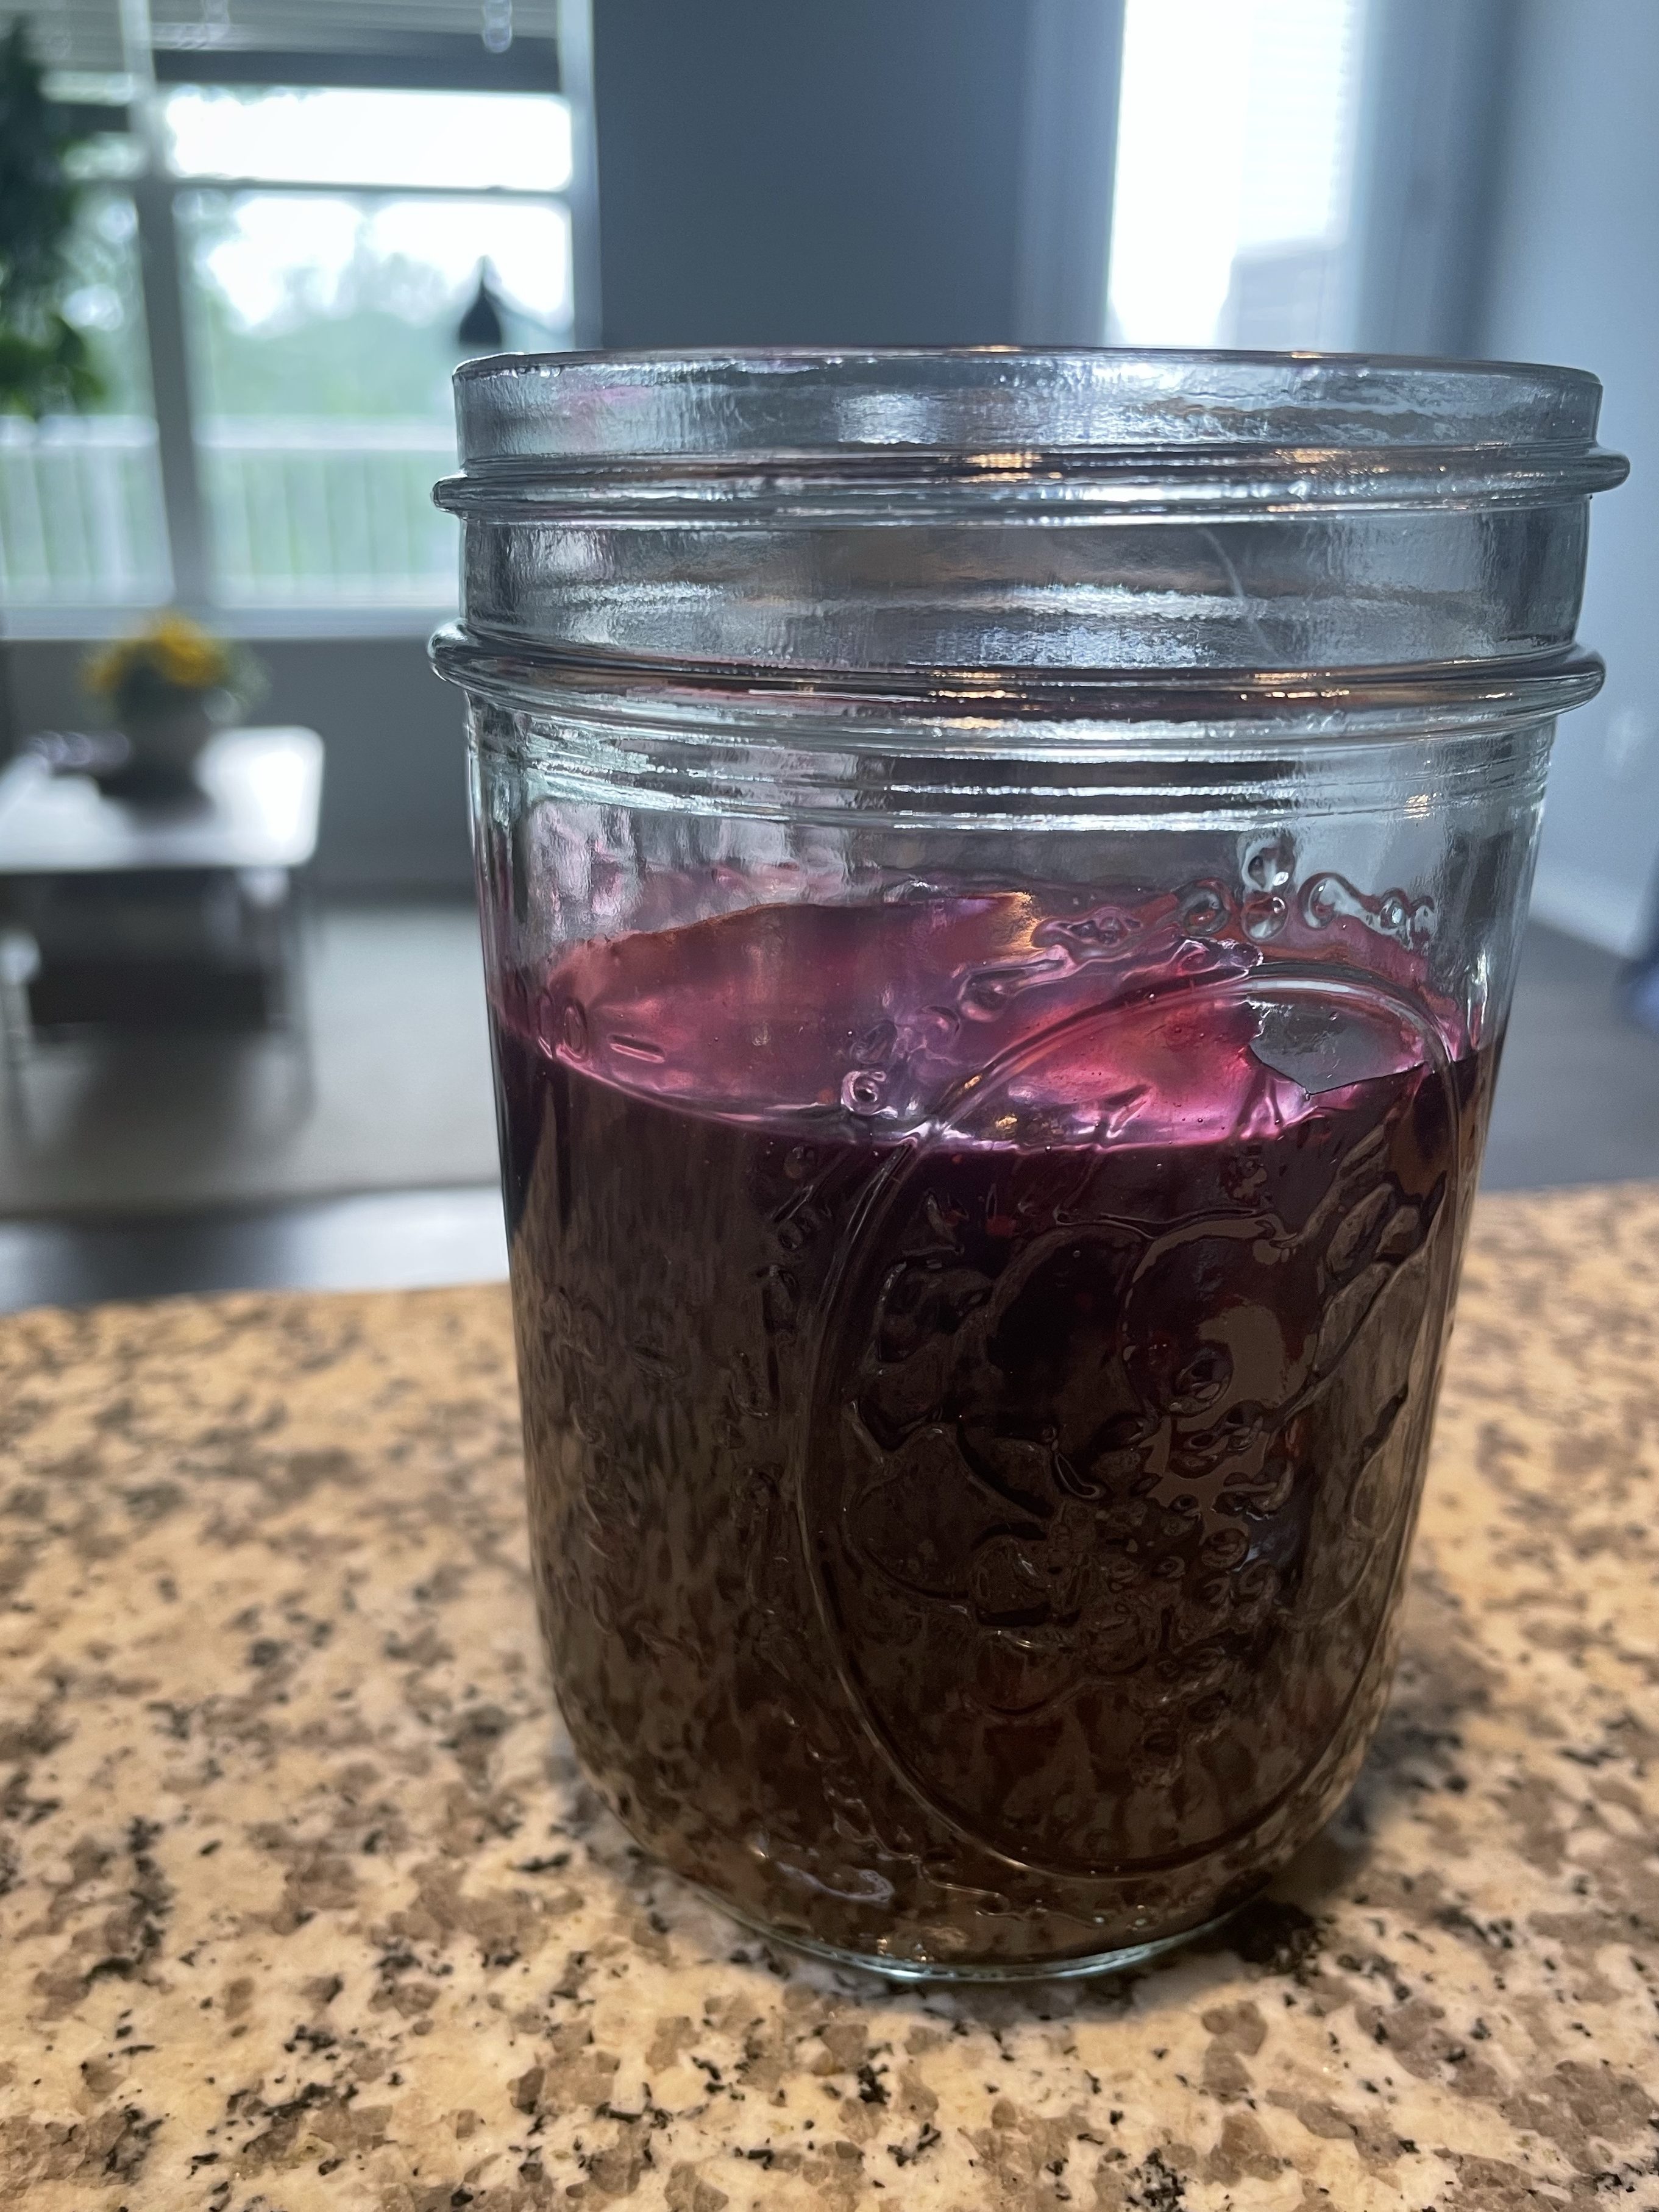
This Blueberry Lemon Sauce was a fun way to try something new and sweet. I followed this recipe from a blog called Delicious Little Bites. Try it out and let me know what you think.
Rating
10/10
Recipe
Blueberry Lemon Sauce
This was delicious and very easy to make. It’s definitely sweet, but it wasn’t nearly as sweet as I was initially thinking. I was worried, because I don’t have a sweet tooth, but this was just the right amount. If you have a sweet tooth, I’m sure you could add more sugar or vanilla extract to boost it up!
Ingredient List:
1 cup blueberries
1/2 cup water
1/4 cup sugar (I used brown sugar)
1 tbsp cornstarch, mixed with 1 tbsp water
1/4 teaspoon vanilla extract
1 teaspoon lemon juice
Recipe Directions:
Combine all ingredients in a pot and bring to a boil over medium heat
Reduce heat to low
Simmer until thickened (3-5 minutes)
Serve!
I stored mine in a mason jar in the fridge for about 3-4 days.
Follow my page on Instagram to get the latest on new posts and blog activity:
Products listed are independently selected. If you buy from one of our links, we may earn a commission.
I am not a baker by any means. Baking cookies, even with directions, is something I find difficult. Although I enjoy cooking, baking is a whole different game to me. With that being said, I really want to learn how to bake, especially bread.
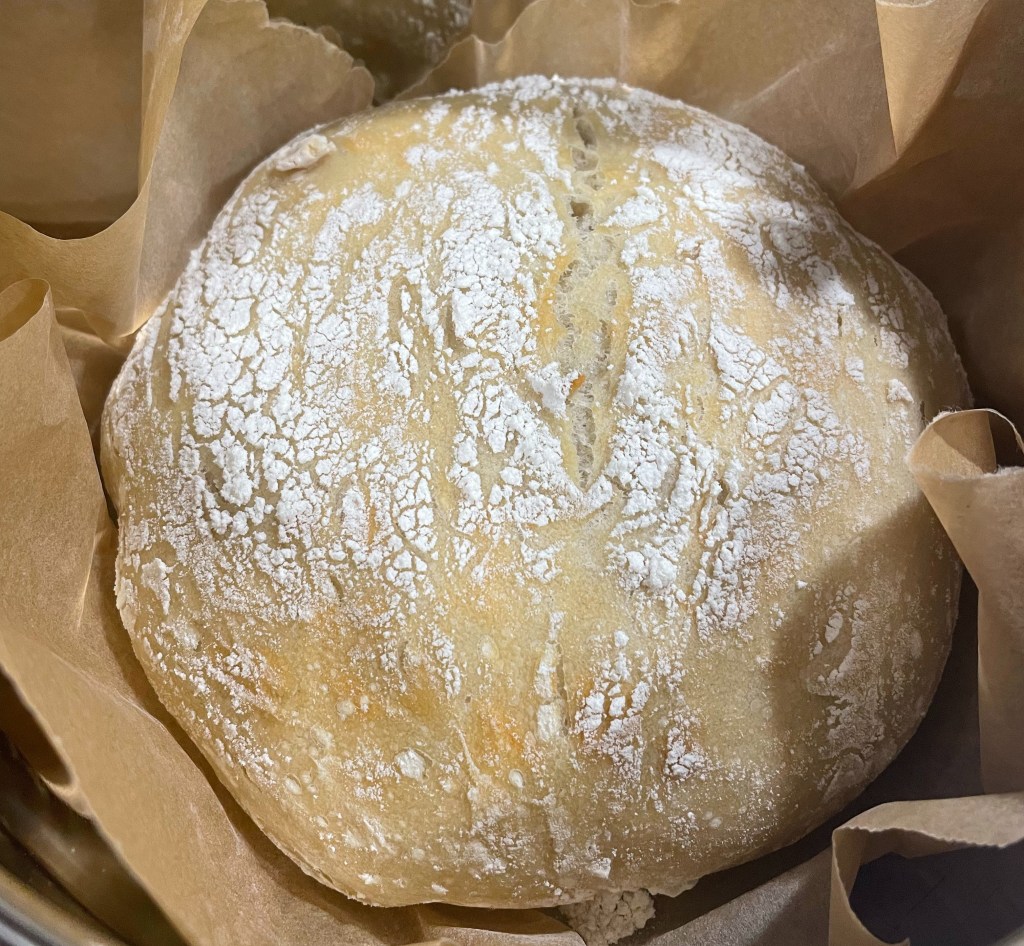
This No-Knead Bread is a great recipe for beginners to try out. I was amazed at how easy and hands-off this process was. The most. hands-on experience I got from this recipe was mixing the ingredients at the beginning. I found this to be much easier to do with my hands rather than a spatula, spoon or whisk.
Overall, this bread was easy to make and was delicious! After baking, I sliced my bread and stored it in the freezer to make toast for breakfast or as a snack.
Today’s blog formatting may be wonky as I am currently without a computer to do proper formatting updates. Thank you for your continued support!
It’s been two weeks since my last post and a lot has happened since then.
I received my Capstone project which I’m really looking forward to. I think I have a great team, and a great project, so I’m looking forward to getting started! I also received the details for my next job rotation. I’ll be switching in April and I’m also very excited for that opportunity.
In my personal life, I’m currently in Costa Rica. A friend of mine is celebrating his birthday and wanted to spend a week in Costa Rica I was invited to join. We’ve only been here for one day, but we did a Night Hike last night. Very cool and very interesting. We saw a sloth! And lots of bugs. And now I’m bugged out.
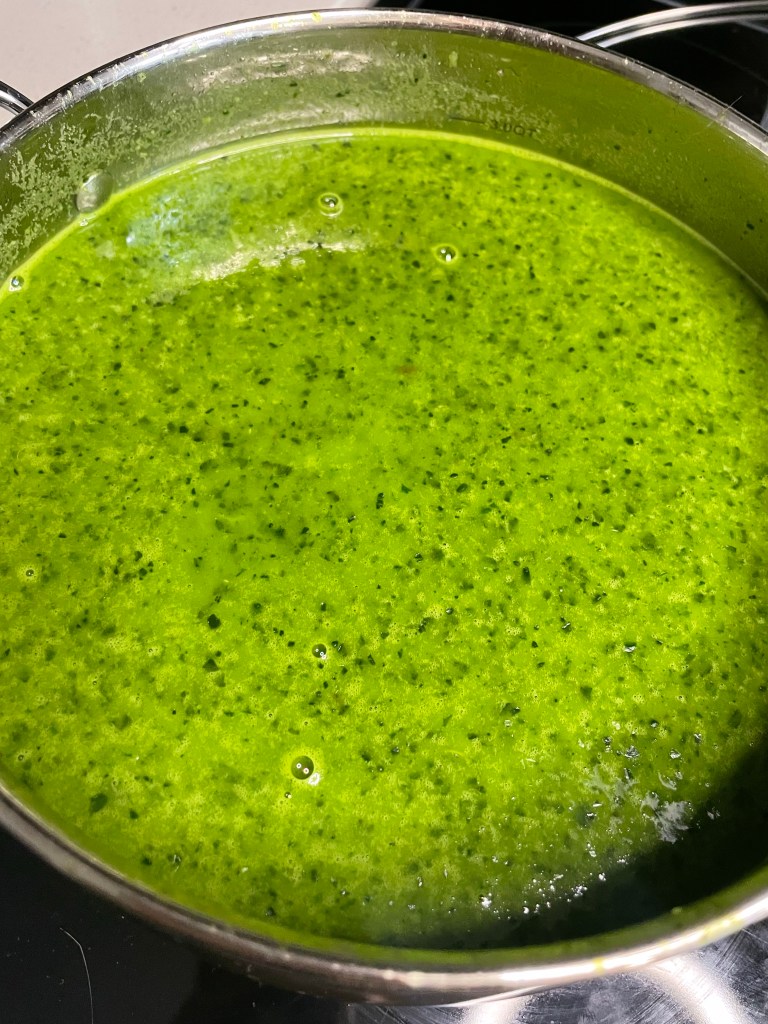
This week I’m sharing a recipe that part of the Color Series for March! For March I picked the color green for St. Patrick’s Day of course. I made a Kale Potato Soup which was delicious. It was topped with bacon and sour cream.
This recipe is from a magazine I had found last year, but recently spotted it again at my local grocery store. I’m unsure of the magazine name, but it referenced Easy Soups & Stews with a big soup bowl on the front of a white background. It’s easy to spot!
Recipe List:
10 cups kale
1 3/4 lbs Yukon potatoes, peeled and diced
3 slices bacon, chopped
1 leek, halved and sliced
2 cloves garlic
4 cups chicken broth
1/4 tsp Worcestershire Sauce
1 tbsp olive oil
1 tsp fresh rosemary
Salt and Pepper
Sour cream
Recipe Directions:
Cook bacon until crisp, about 5 mins. Remove.
Add potatoes and leek and cook until slightly softened, about 3 mins. Add garlic, rosemary, salt and pepper. Cook until browned, another 2 mins.
Add broth and 4 cups water and bring to a simmer. Cover and cook for 15 mins. Add 3/4 of kale, cover and cook for 5 mins. Add Worcestershire sauce.
Preheat broiler. Toss remaining kale with olive oil, salt and pepper, and place on baking sheet. Broil about 3 mins. Thin sour cream with water.
Purée soup with immersion blender, or working in small batches in a blender. Ladle into bowls and serve with bacon, almonds, sour cream and kale chips!
Today is the last post from what has been a very fun February Color Series! Next week I’ll do a regular recipe, and from there we’ll be transitioning into March for the color green!
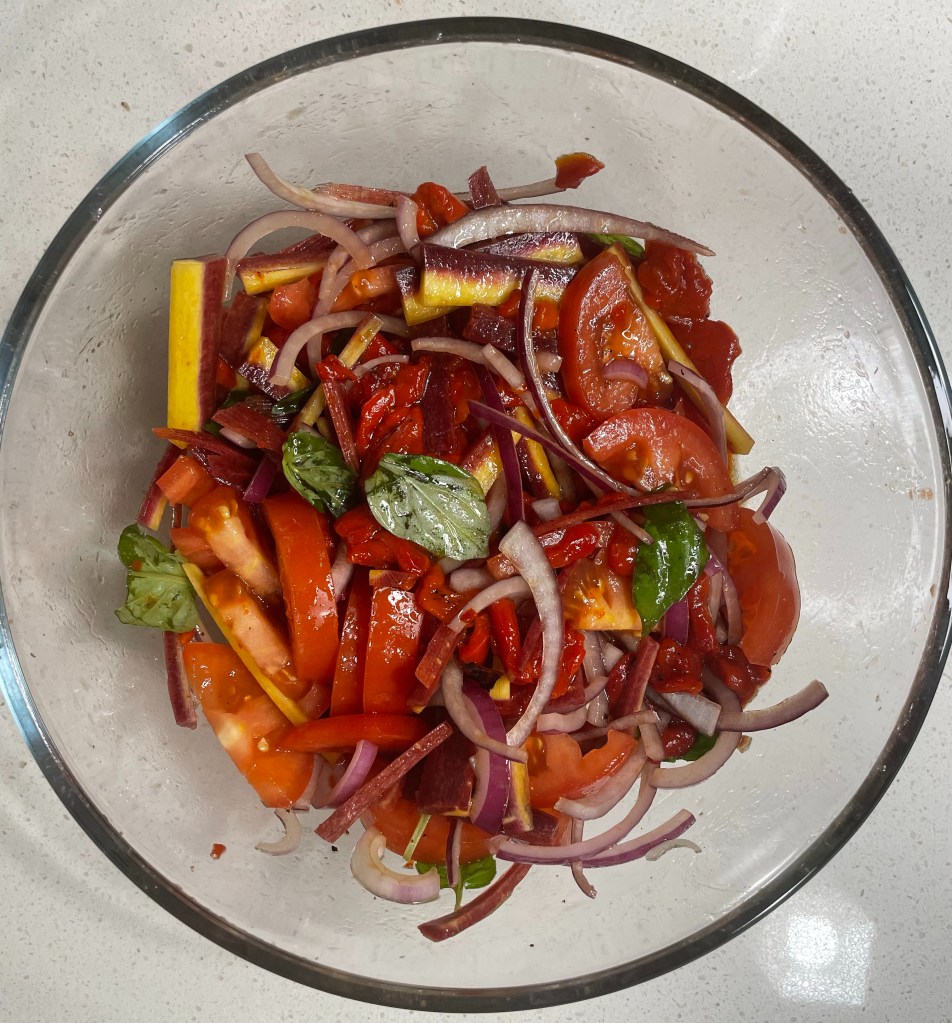
This was a great side salad to pair with lunch or dinner, and was delicious both cold and warmed up. Prep work was the longest part of making this dish, but overall it was very quick and easy. Save yourself time and purchase pre-sliced roasted red bell peppers!
Red Tomato Salad
Recipe List:
1 small or 1/2 medium onion, sliced thin
3 Roma tomatoes
1 thin jar or 1/2 a large jar of roasted red bell peppers, sliced
3 large purple carrots, halved and sliced thin
Basil
1 tbsp balsamic vinegar
2 tbsp olive oil
Salt and pepper to taste
Recipe Directions:
Prep onion, tomatoes, roasted red bell peppers, and purple carrots
Mix veggies with basil, balsamic vinegar, olive oil, and salt and pepper
Serve!
Follow my page on Instagram to get the latest on new posts and blog activity:
Disclaimer: Any links are provided as a convenience and for informational purposes only; they do not constitute an endorsement or an approval of any of the products, services or opinions of the corporation or organization or individual.
Hello to old and new followers, and welcome back to my blog!
I took a long break from blogging and cooking new recipes to focus on my graduate degree. After completing my Master’s, I continued to do business research with a professor, and opted for a summer internship program with a biotech company. With both roles, it didn’t seem like the best opportunity to start blogging again, so I held off. Following completion of my internship, I started working for another biotech company which required me to pack up and move from southern California back to the East Coast!
I’ve lived in California for quite some time now, and it was a bit strange coming back to the East Coast. I’ve been back on the East Coast for about 2 months now and have spent most of it either traveling back and forth from my new apartment to my parent’s house, buying new furniture and decor, or taste-testing the local restaurants.
As for the job, I’m really enjoying it and it’s only been about 3 weeks! I feel that I’ve already been given so many opportunities to develop my skills and showcase my abilities. It’s been really rewarding. I’m also excited because my new role involves a bit of travel, which is something I’m always itching to do. For now, it sounds like the travel will remain in the US, but I’m excited nonetheless.
Happy to be back to cooking and testing out recipes!
Since my graduate program was mostly online due to the COVID pandemic, my new in-person schedule is very different than what I’m used to. Being online meant I didn’t need to be highly structured about when I made my meals, or when I went to the gym, or when I took time for myself because I was always home and everything was within reach. Now that I’m in-person for my job, I’m realizing how quickly the day goes by and how difficult it is to fit in everything I’d like to do. Most importantly, I’m learning about the importance of a standard schedule to ensure I’m getting my laundry done, making my lunches, and running any errands, otherwise I’ll either have no clean clothing, no lunch to eat during a busy day or or have to buy a lunch within my lunch break!
This is where we now talk about what you came here for. Likely, you have a busy work schedule, or a busy schedule in general, and time is not a luxury you have to be cooking fancy meals that take all day to prep. My hope is to minimize some of that potential stress by reviewing and taste-testing some popular recipes online, or sharing my own recipes to see what really is a schedule friendly meal.
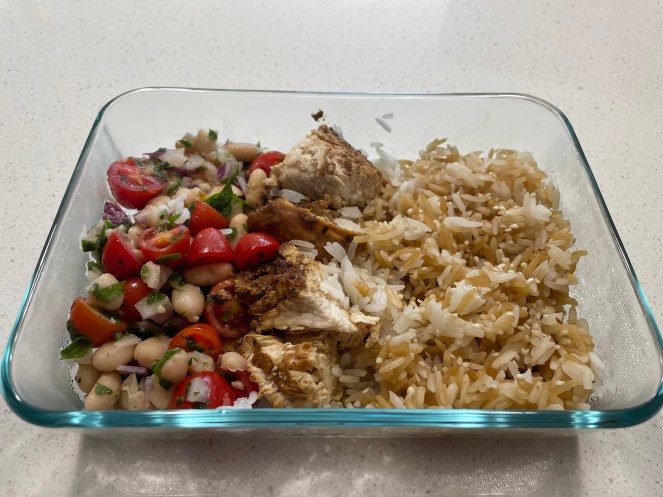
This Northern White Bean salad is a no-cook recipe that goes great as a side dish for any main meal. I personally love pairing salads like these with my lunch which is usually some chicken and rice. I try to change up the salad every week to keep the meal a bit interesting.
Balsamic marinated chicken with Northern White Bean Salad and some rice
The biggest time killer in this recipe is the prep work, essentially all the dicing and mincing. If you are crazy busy, you may want to look into getting a faster option compared to the manual version. I’ve seen this Vegetable Chopper on Amazon frequently, and also seen it in Marshall’s, TJ Maxx, and Target. I’ve never used this before, but I’m very tempted to try it out. If you end up using one, let me know in the comments how it went for you!
I didn’t time myself, but with chopping the tomatoes, onion, garlic, parsley, and cilantro, this recipe took me roughly 30-45 minutes to make (with a TV show on in the background). What I love about this recipe is that it doesn’t require a high capacity of my attention. I can (carefully) cut my vegetables while watching a show or having a conversation. This provides the opportunity to do the things I need to be doing (cooking) while also doing the things I enjoy doing to relax. It means this doesn’t feel like a “task.” I also cut my tomatoes one-by-one so if you use a better method, you’ll save significantly more time!
I made enough to last me everyday for lunch, and enough to pick on during the week. I also have a guest staying with me who eats significantly more than I do, so the list below calls for quite a bit of food. When finished and mixed, this dish at the amounts listed below fit into my 4 qt bowl Tupperware, right up to the lid. For a smaller overall portion, I recommend cutting the items required in half.
Aside from my guest, I’ve started increasing the amount of food required to create a recipe because I’ve found that I typically run out by Wednesday or Thursday. I don’t usually have enough time during my work week to re-make a meal or a side dish, so this was incredibly inconvenient and also meant that I was spending money on take out when I’d much rather be putting that money to a different use.
This recipe is incredibly easy. With the canned beans, pop them open, rinse, and drain. I know some people have a preference for drying canned items such as beans, peas, corn, etc. after they’ve rinsed it, so do whatever you’re more comfortable with. I halved my tomatoes short-ways and diced my onion. The diced onion was nice because I didn’t notice how much onion was in the dish, but I think next time, my preference will be to have the onion in thin slices, just to add some variety to the sizes of items. I minced the parsley and cilantro, and threw everything into a big bowl.
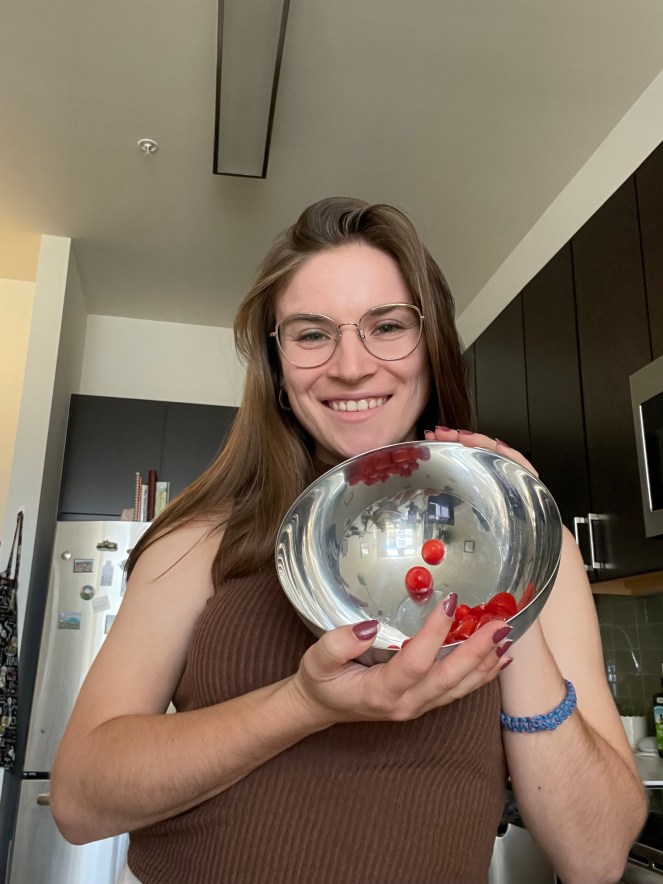
Working my way through the numerous tomatoes!
For the dressing, I combined about 1/2 cup olive oil with a full lemon’s-worth of lemon juice, and 2 more cloves of minced garlic. I stirred that up a bit, and mixed it into the salad.
Food Fact: Tomatoes are a good source of vitamins A, C, and K
If you’re interested in having a fuller salad or creating this as more of a main dish rather than a side dish, here are some of my recommendations: avocado, spring mix or arugula (or kale if you like it), salmon or chicken, and/or seeds. I haven’t done much cooking with seeds so I wouldn’t know which to recommend, but if you do decide to add some, let me know which and how that mixture tasted! I’d love to try it out.
Garlic and onion are typically not ingredients people consider when they think of work-friendly food usually because the food either smells, or your breath smells. For the food smell, the good news is that this dish is great when served cold. You will not have to worry about making the office microwaves smell like onion or garlic. I personally don’t worry too much about the breath portion, as I don’t interact with many others directly in-person. We typically communicate via video calls and chats. However, I like to keep some breath mints with me just in case, and I recommend you do the same if you’re feeling a bit worried about that.
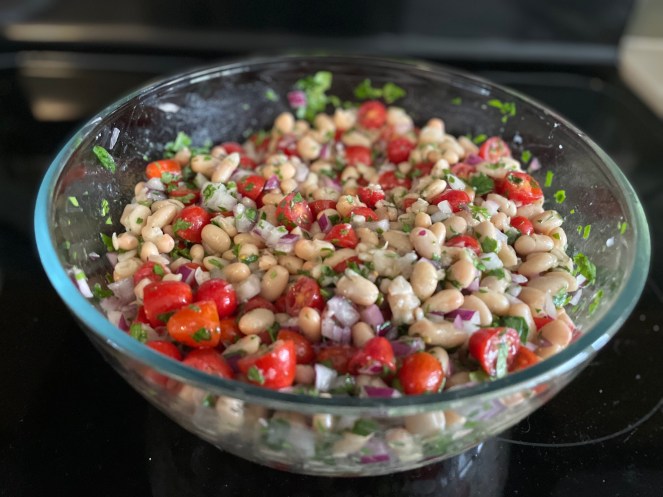
The completed Northern White Bean Salad mix
I hope you’ll try this recipe out and let me know how it goes! If you’re looking for other variations of this recipe, there are SO many on the internet, you’re sure to find something that fits your taste. You can also substitute different types of beans and goodies to make this exactly what you’re looking for. Enjoy!
Recipe List below:
For the Salad:
4 32oz Canned Northern White Beans
2 pints Cherry Tomatoes
1 Red Onion
6 cloves Garlic (more or less depending on preference)
1 bundle Parsley (more or less depending on preference)
1 pack Cilantro (more or less depending on preference)
Salt & Pepper for taste
Optional addition:
Avocado
Feta or another type of crumble cheese
Arugula or any salad mixture
Seeds (based on preference, I haven’t cooked much with seeds)
Fish or Meat based protein
For the “Dressing”
Olive oil
2 cloves Garlic
1 Lemon (for the juice)
Salt & Pepper for taste
Recipe Directions below:
Prep veggies and goodies:
Halve tomatoes
Dice or slice onion
Mince parsley
Mince cilantro
Mince garlic
Optional:
Cube avocado
Cube salmon/chicken
Drain and rinse beans
Prep dressing
Combine olive oil, lemon juice, and minced garlic
Combine all ingredients into large bowl
Mix and serve
Follow my page on Instagram to get the latest on new posts and blog activity
I had Thanksgiving up in San Francisco again at my sister’s place. Last year we had a whole group come over and she hosted. It was a lot of fun but also required a lot of work on her part – prepping the food, baking the pies, cleaning the house, getting alcohol, etc. Which was fine, and we all had a great time, but this year we’re just doing us and it’s much more relaxed.
This year I really wanted to pitch in and help out so I made a side dish. I intended to prep the dish at my place and then drive up, but I woke up later than I intended to and traffic was already starting to get heavy. So instead I brought all of the ingredients up to her place and prepped the stuff Thanksgiving morning (which actually turned out better because I wasn’t as stressed).
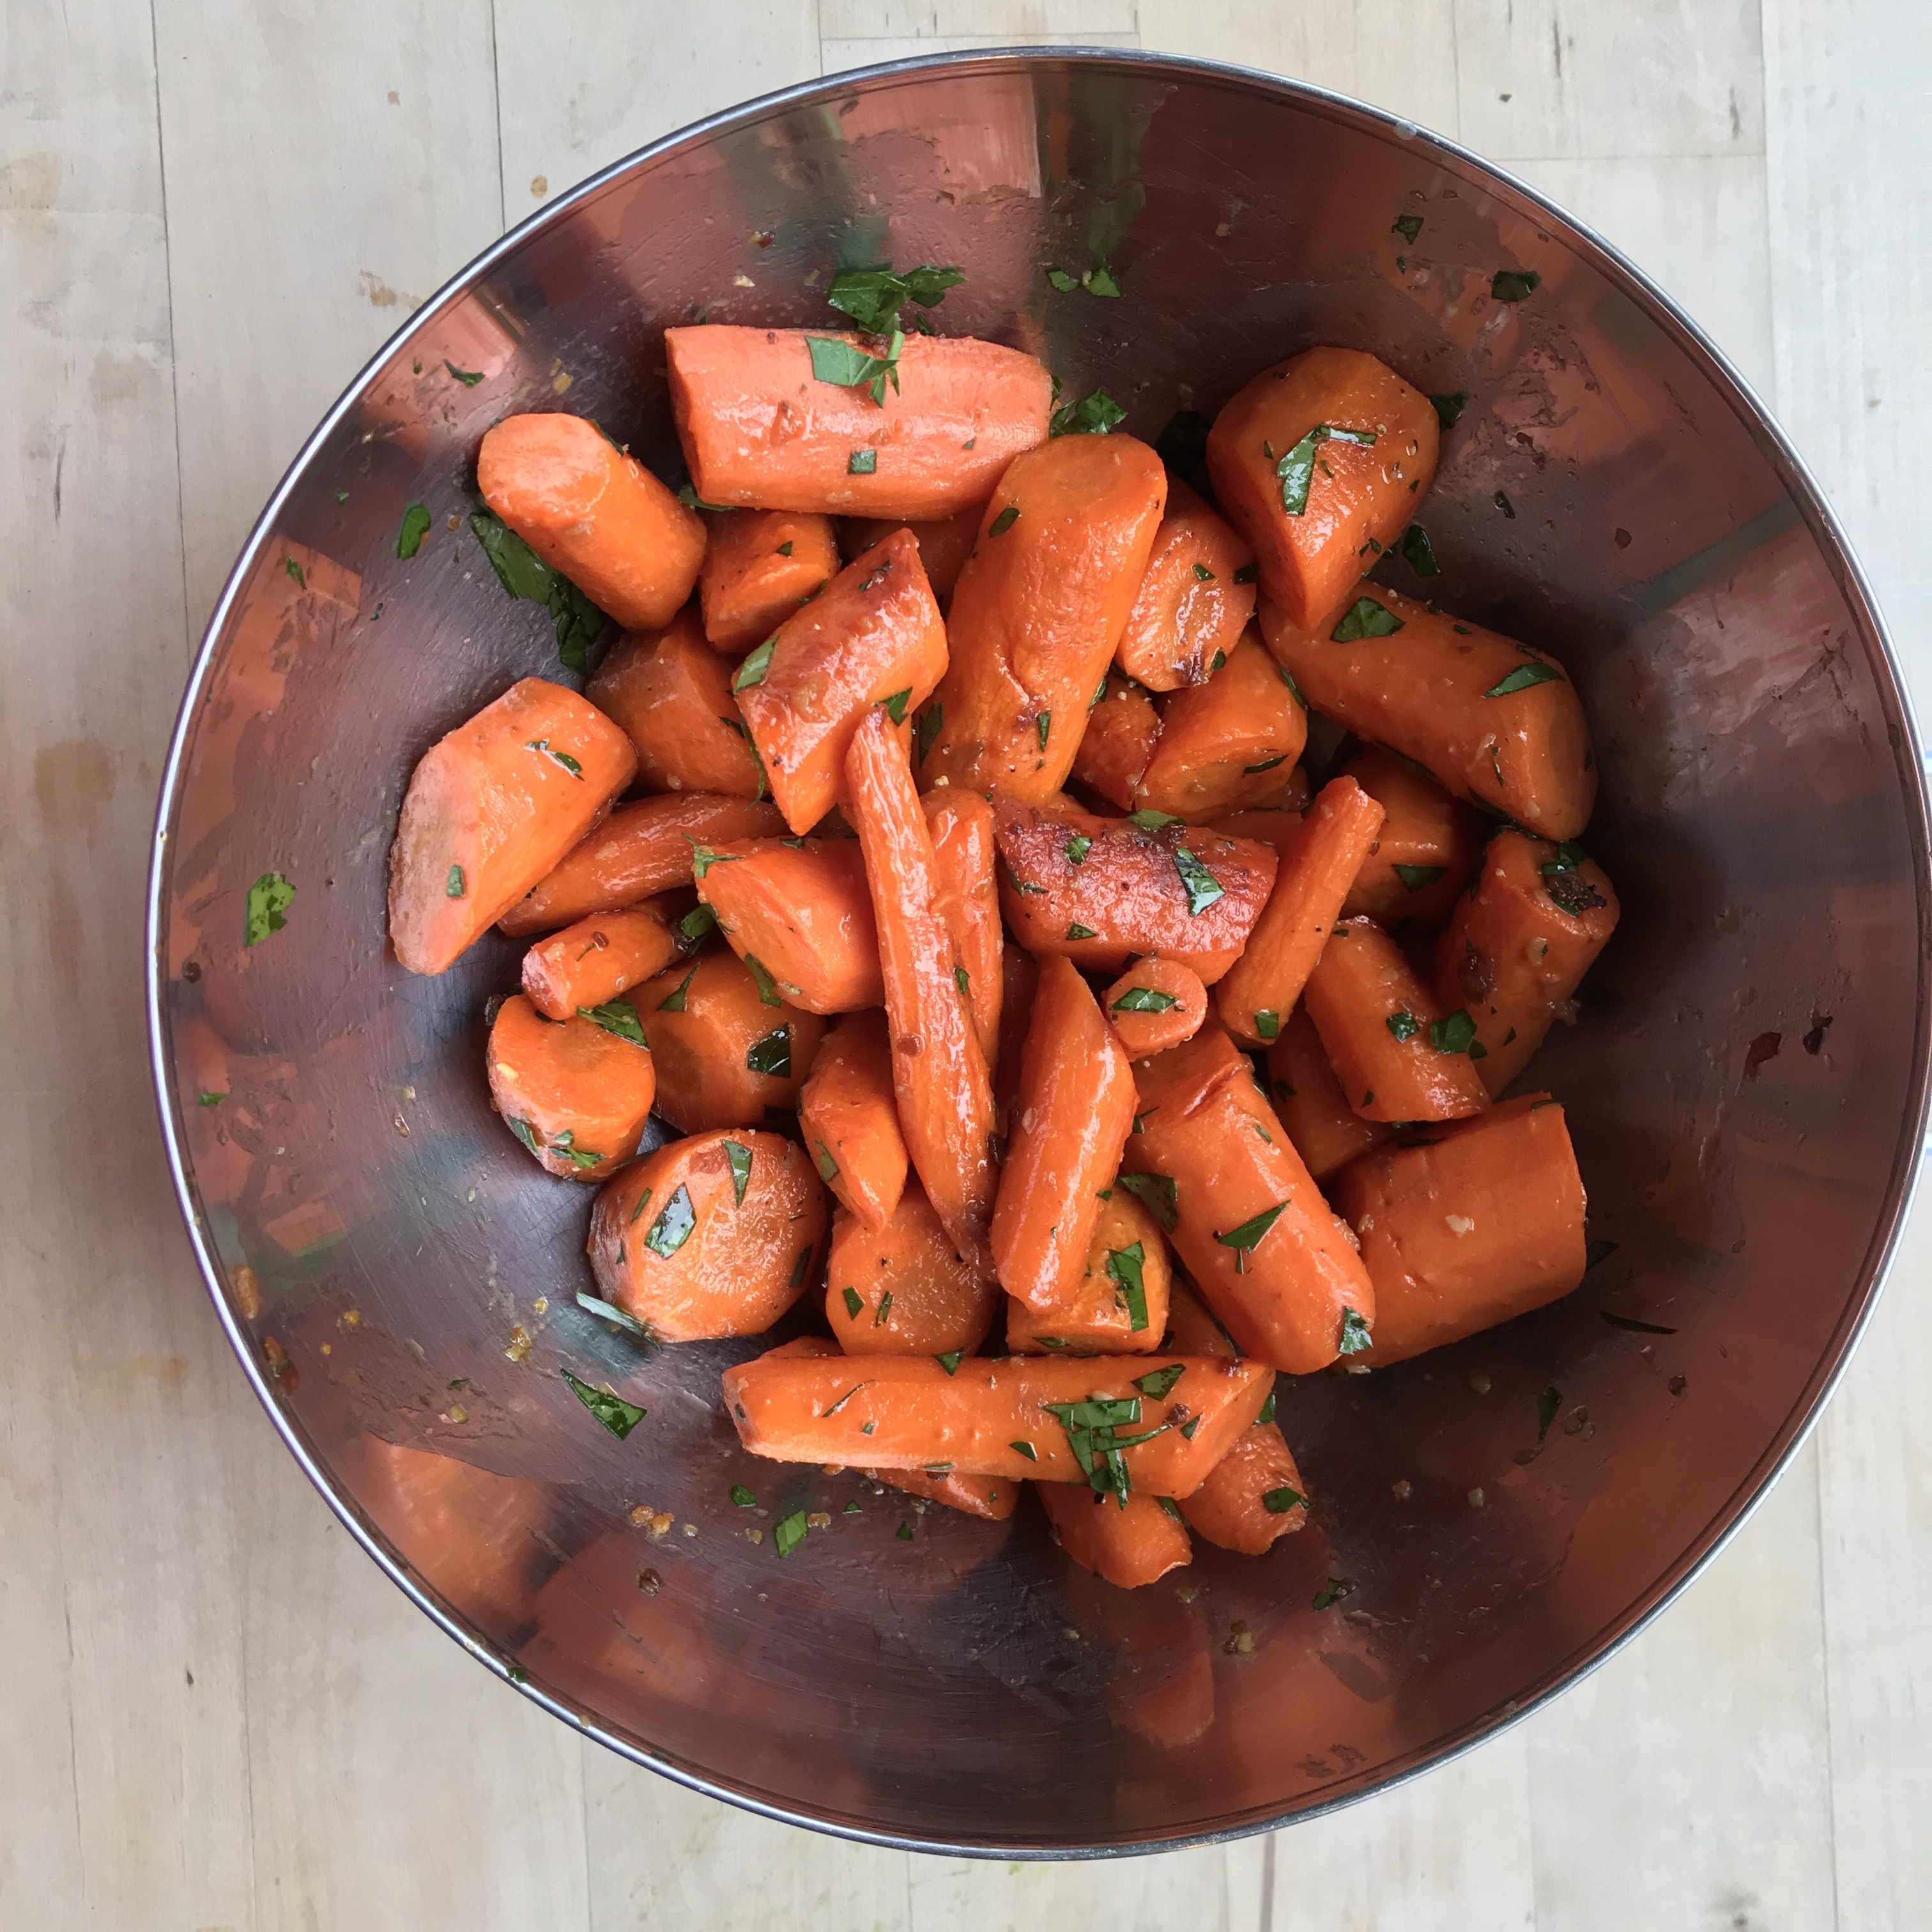
I made some Garlic Butter Roasted Carrots as a side dish and they looked soooo good online, so I had to try them out! The recipe was super easy to follow which was nice, and it didn’t require me to buy much other than carrots and parsley, which was great because I didn’t want to buy a bunch of stuff. I followed the recipe from a blog called Diethood (here’s the link), which I originally found on Pinterest.
The recipe calls for 2 lbs. of carrots which I initially thought was A LOT, but to be honest, if I were to make this again I would probably add another pound of carrots. We eat a lot at Thanksgiving, and it’d be nice to have extra for leftovers. I started by washing and peeling the carrots, which normally I just wash them. I never really think to peel them, because I’ve just cleaned them, but they look so much more appetizing once they’ve been peeled. It takes a little more time but I’ll probably do this from now on.
From there, the recipe says to cut the carrots into diagonal 2-3 inch pieces. For some of the thicker parts of the carrots I cut them smaller than the 2 inches because they were so thick and I didn’t think they would cook all the way through (which they kinda did). For the thinner pieces I left them at the 2 inch recommendation. I eyeballed it, so my measurements were probably super off, but hey, at least they look pretty. Additionally, in the photo the displayed on the blog, 2-3 inches seemed more like a recommendation rather than a direction. So I went for it.
The next step was to melt the overwhelming amount of butter (I had to double check the recipe three times and then I googled the amount to make sure I wasn’t crazy). It required 5 tablespoons, which I thought was nasty, but when it came down to it, I think it was necessary. 4 tablespoons probably would have worked as well, but at that point, what’s the harm in adding another one? 4 cloves of garlic were added to the melted butter and mixed around until the garlic was light brown. From there, this was mixed in with the carrots and then popped in the oven at 425º. The recipe said to cook them for 22-30 minutes. I opted for 25 minutes and then kept them in a little longer after (an extra minute or two) because the really thick pieces weren’t tender enough yet.
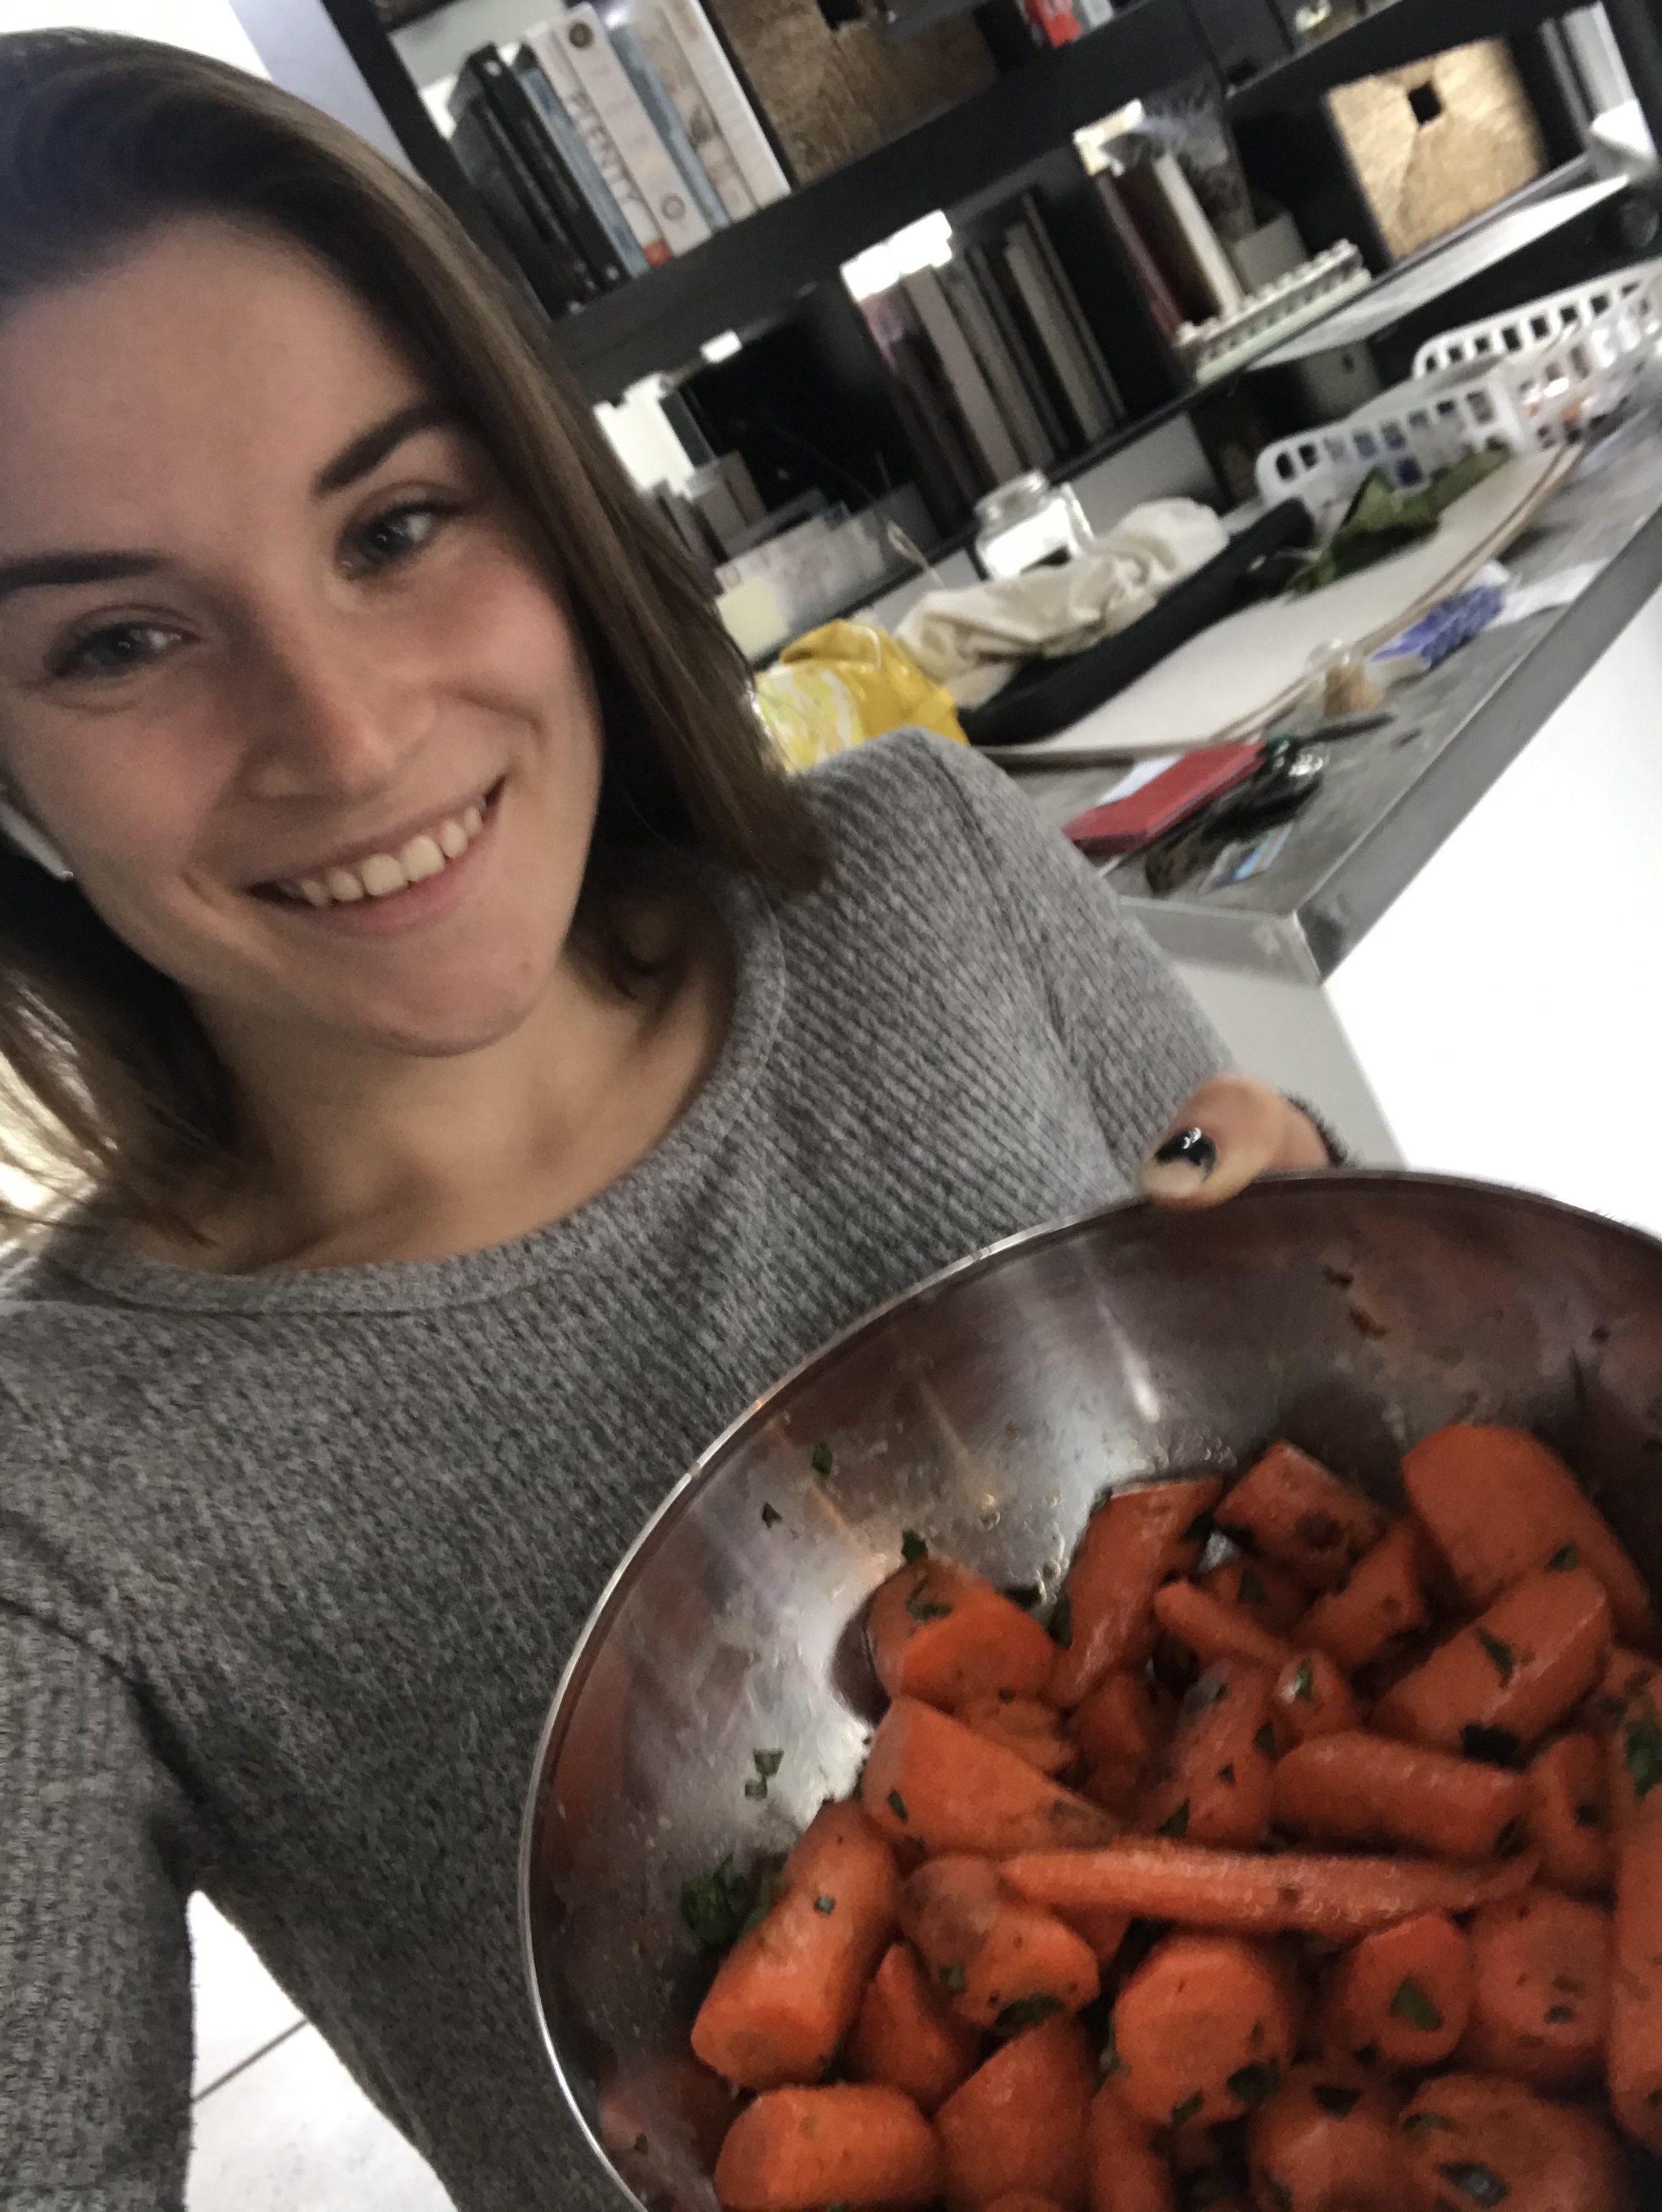
After that, I transferred them back into the bowl and added parsley, salt, and pepper. They smelled SO GOOD! As you can see from the photo, 2 lbs doesn’t really fill up the bowl, which is why I might recommend another pound, just so there’s plenty rather than not enough. My sister said the carrots look good so we were looking forward to trying them with our Thanksgiving feast. Like I said, this recipe was super easy to follow and I’m so glad I found it. I highly recommend trying this for your next Thanksgiving feast or even just for dinner one day (mind the butter). The blog also has a ton of other recipes that look delicious! You might find something else you like!
As you can see, I’m really proud of my carrots. I think they turned out great.
After the carrots were made, my sister came home from errands and started prepping the cranberry sauce, vegetables and, of course, the turkey. While we were waiting for the turkey to finish up, we did some Champagne and Prosecco tasting; planning for a holiday party. We agreed the Champagne was better and that’s what she’ll probably opt for.
And now, the turkey is officially ready! Time for us to eat, and then probably watch some Rick and Morty or a movie. I’m thankful I get to spend Thanksgiving with my sister, and can’t wait to see the rest of my family during the Christmas holiday.


 The recipe calls for 2 lbs. of carrots which I initially thought was A LOT, but to be honest, if I were to make this again I would probably add another pound of carrots. We eat a lot at Thanksgiving, and it’d be nice to have extra for leftovers. I started by washing and peeling the carrots, which normally I just wash them. I never really think to peel them, because I’ve just cleaned them, but they look so much more appetizing once they’ve been peeled. It takes a little more time but I’ll probably do this from now on.